Precision and Performance: Vent Glass Replacement for the Audi R8 (2017-2024)
The Audi R8, particularly the second generation (Type 4S, produced from 2017 to 2024), is not merely a vehicle; it is a masterpiece of German engineering, characterized by its sharp, aggressive lines, the howling V10 engine, and its sophisticated Audi Space Frame (ASF) construction. Owning such a machine is a statement of appreciation for automotive perfection. However, even the most robust supercars are not immune to the unpredictable nature of the road or the unfortunate realities of vandalism. When a side vent glass or quarter glass breaks on an Audi R8, it disrupts the vehicle's aerodynamic profile, compromises security, and shatters the aesthetic continuity of the car.
At AlexWindshield, we understand that touching an Audi R8 requires more than just standard tools; it requires a "white-glove" approach, deep technical knowledge of aluminum and carbon fiber chassis structures, and an unwavering commitment to precision. We specialize in the Vent Glass Replacement for Audi R8 2017-2024 models, providing a service that restores your vehicle to its factory-perfect condition.
Service Availability: Mobile Auto Glass in the GTA
Driving an R8 with shattered glass to a repair shop is dangerous and risks further damage to the interior leather and paint. That is why AlexWindshield brings the repair facility to you. We are proud to offer our specialized mobile auto glass services across the entire Greater Toronto Area (GTA). Whether your vehicle is parked in a climate-controlled garage in Vaughan, sitting in a driveway in Richmond Hill, or located at a workplace in Markham, our fully equipped mobile units are ready to deploy.
Our mobile service is not a compromise on quality; it is a premium convenience designed for luxury vehicle owners. We carry all necessary power tools, vacuum systems, lighting, and urethane heating systems to perform a dealership-level installation right at your location.
The Technical Complexity of R8 Vent Glass
The "vent glass" or rear quarter glass on the Audi R8 (2017-2024) is a fixed piece of tempered or laminated glass, depending on the specific trim and year. Unlike a door glass that moves up and down, the vent glass is structurally bonded to the vehicle's frame using high-strength urethane adhesive. This glass plays a role in the structural rigidity of the roofline and aids in the vehicle's aerodynamics.
Replacing this glass is significantly more involved than a standard window swap. It requires the removal of interior trim panels that are often hand-stitched leather or Alcantara, necessitating extreme caution. Furthermore, because the glass is usually tempered, a break results in thousands of tiny shards that can migrate into the vehicle's body cavities, seat rails, and air vents.
Step-by-Step Replacement Process: The Master Technician’s Approach
As a Master Technician at AlexWindshield, I follow a rigorous, manufacturer-compliant protocol for every Audi R8 we service. Below is the detailed, A-to-Z process we utilize to ensure your vehicle is treated with the respect it deserves.
Phase 1: Pre-Installation Inspection and Protection
Before any tool touches the car, we prepare the work environment to ensure zero collateral damage.
- Vehicle Assessment: We conduct a thorough walk-around to document the condition of the paint, interior leather, and carbon fiber trim surrounding the broken glass.
- Interior Protection: We apply protective covers to the seats (often Nappa leather in the R8), the steering wheel, and the center console. Special attention is given to the door sills to prevent scratches during entry and exit.
- Exterior Protection: The rear fender and door panels are covered with non-abrasive, magnetic, or suction-cup protective mats to prevent belt buckle scratches or accidental tool contact with the paintwork.
Phase 2: Interior Disassembly and Debris Removal
Accessing the frame of the vent glass requires removing internal obstructions. This is the most delicate part of the operation.
- Trim Removal: Using specialized non-marring plastic pry tools, we carefully detach the interior C-pillar trim and, if necessary, the rear shelf panels. On the R8, these clips are tight; we use precise leverage to pop them without breaking the mounting points.
- Vacuuming (The Detailed Clean): When vent glass breaks, it explodes inwards. We use a high-powered industrial vacuum with narrow crevice attachments to extract glass from:
- Inside the door jambs and weather stripping.
- Underneath the seats and in the seat tracks.
- Deep within the carpet pile and floor mats.
- Critical Step: If the glass fell into the door panel or body cavity, we may partially remove the door card or access panels to snake a vacuum hose inside. Leaving glass inside the bodywork can cause annoying rattles that ruin the driving experience.
Phase 3: Removing the Old Glass and Adhesive
Once the area is clear and the interior is accessible, we proceed to remove the remains of the damaged unit.
- Cutting the Urethane: We use an oscillating cut-out tool or a specialized "cold knife" to slice through the existing urethane bead that bonds the glass to the car’s frame. Great care is taken to guide the blade ensuring it does not scratch the pinch weld (the metal frame).
- Removing the Encapsulation: We remove the old glass fragments and any rubber molding or encapsulation attached to the frame.
- Trimming the Bead: The old adhesive is trimmed down to approximately 1-2mm. This remaining thin layer serves as the perfect base for the new adhesive to bond to, a process known as the "full cut" method, which is industry standard for structural integrity.
Phase 4: Surface Preparation and Priming
The longevity of the repair relies on chemical bonding. We do not skip steps here.
- Cleaning the Pinch Weld: The frame is cleaned with a specialized alcohol-based solvent to remove road grime, dirt, and silicone residues.
- Priming Bare Metal: If the removal process exposed any bare aluminum or steel on the pinch weld, we apply a high-quality anti-corrosion primer. This prevents rust (or aluminum oxidation) and ensures the adhesive adheres to the body, not to a layer of corrosion.
- Glass Preparation: The new OEM-specification vent glass is cleaned. We apply an activator to the ceramic frit (the black band around the glass edge) followed by a glass primer. This chemical preparation is vital for preventing water leaks and wind noise.
Phase 5: Adhesive Application and Glass Installation
This is the moment where precision is paramount.
- High-Modulus Urethane: We use premium, high-modulus, non-conductive urethane adhesive (such as Sika or Dow). This adhesive is specifically designed for high-performance vehicles, offering superior torsional rigidity which supports the R8's stiff chassis.
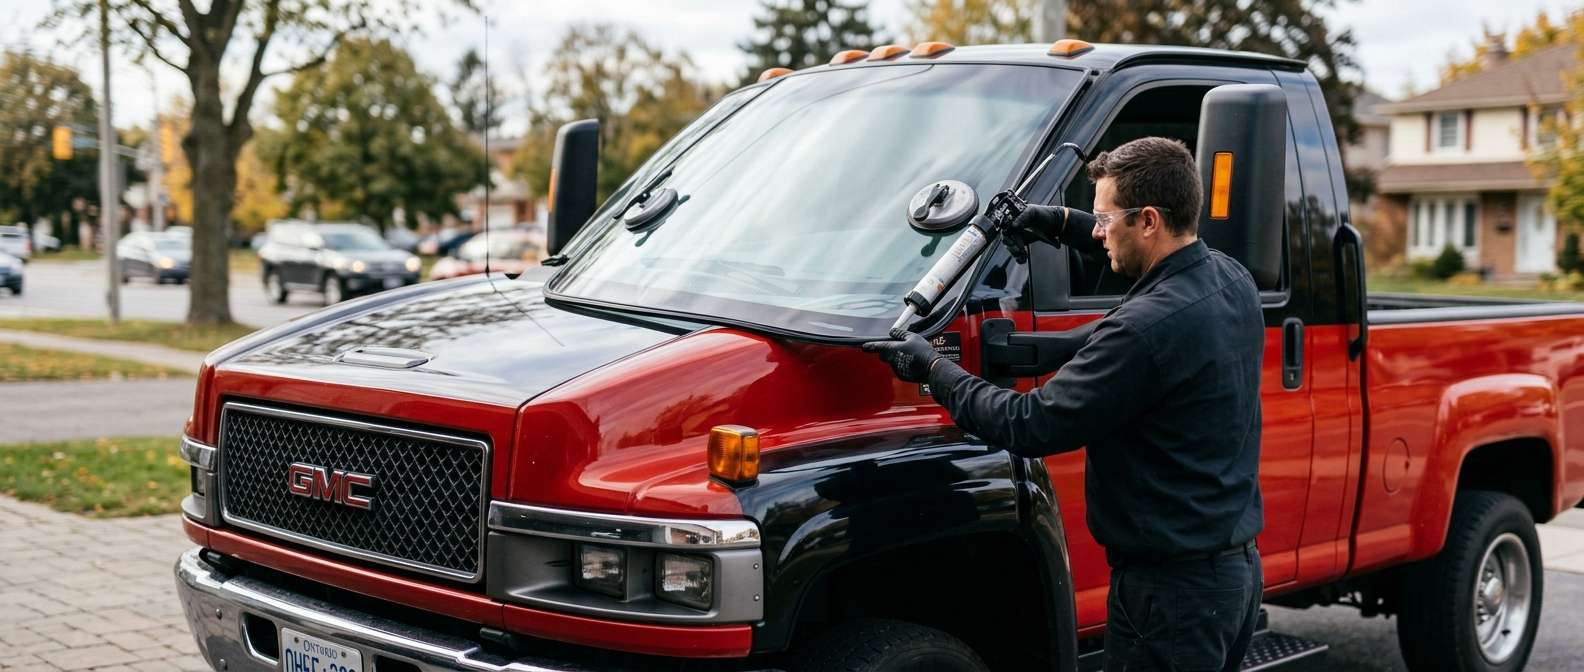
- The V-Bead Application: Using a high-ratio caulking gun, we apply a perfect "V-shaped" bead of urethane directly to the glass or the pinch weld (depending on the specific fitment requirement of the 2017-2024 model). The V-shape ensures that when the glass is pressed down, the glue spreads evenly without trapping air bubbles, which could lead to leaks.
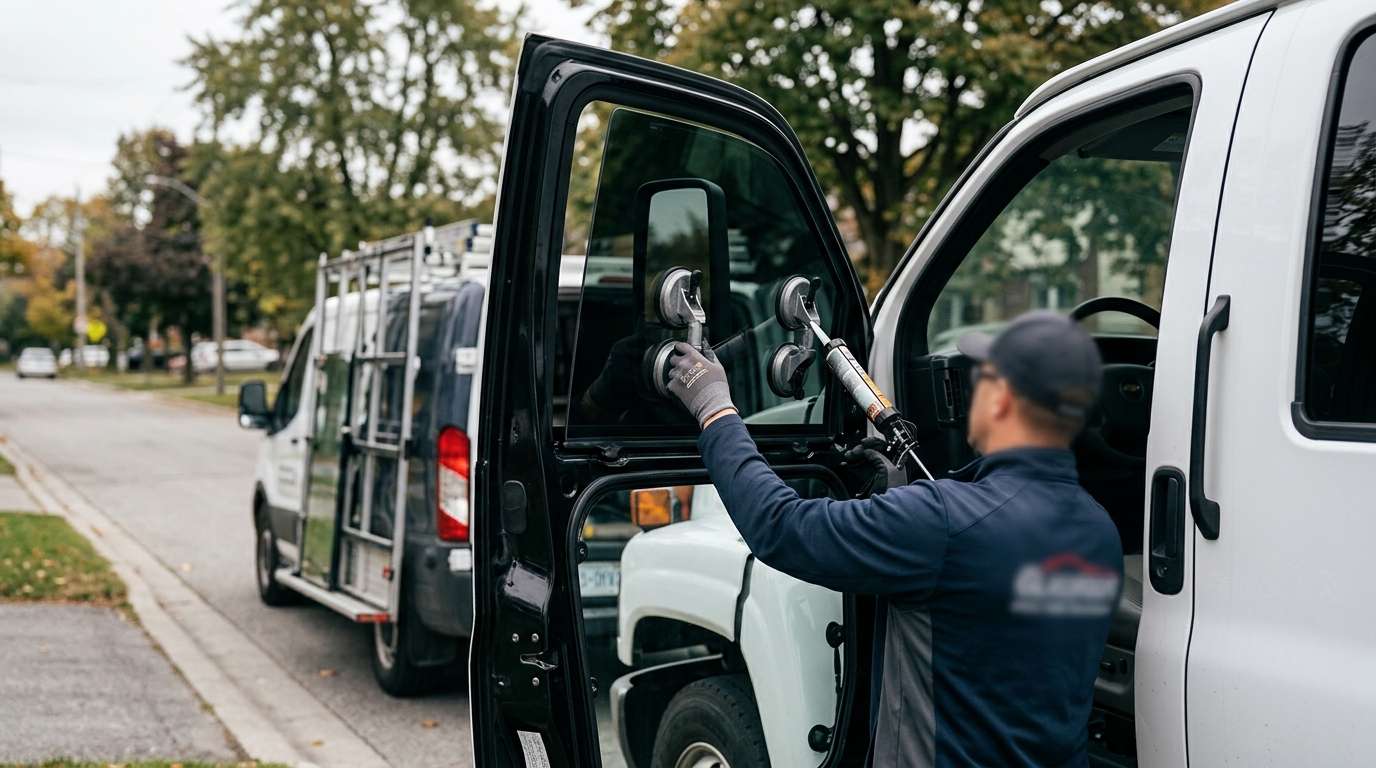
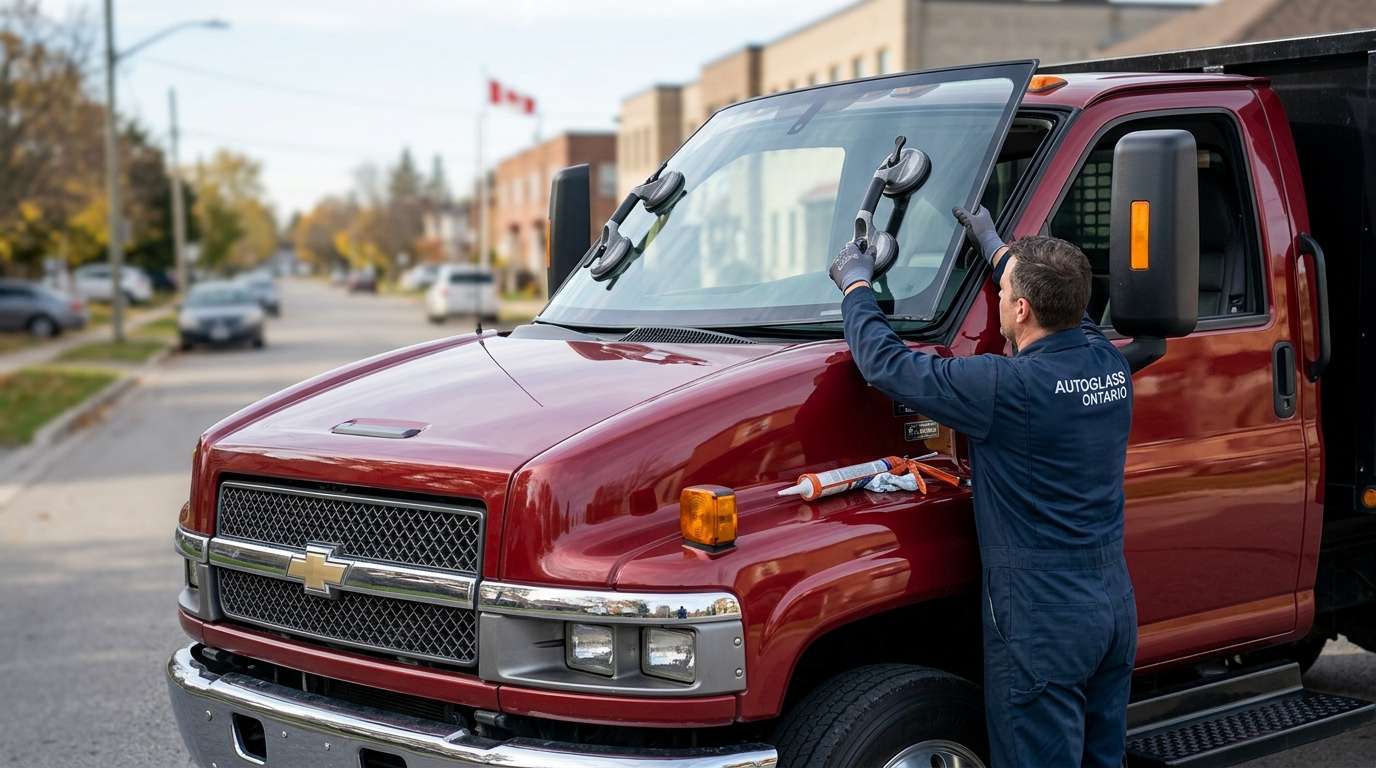
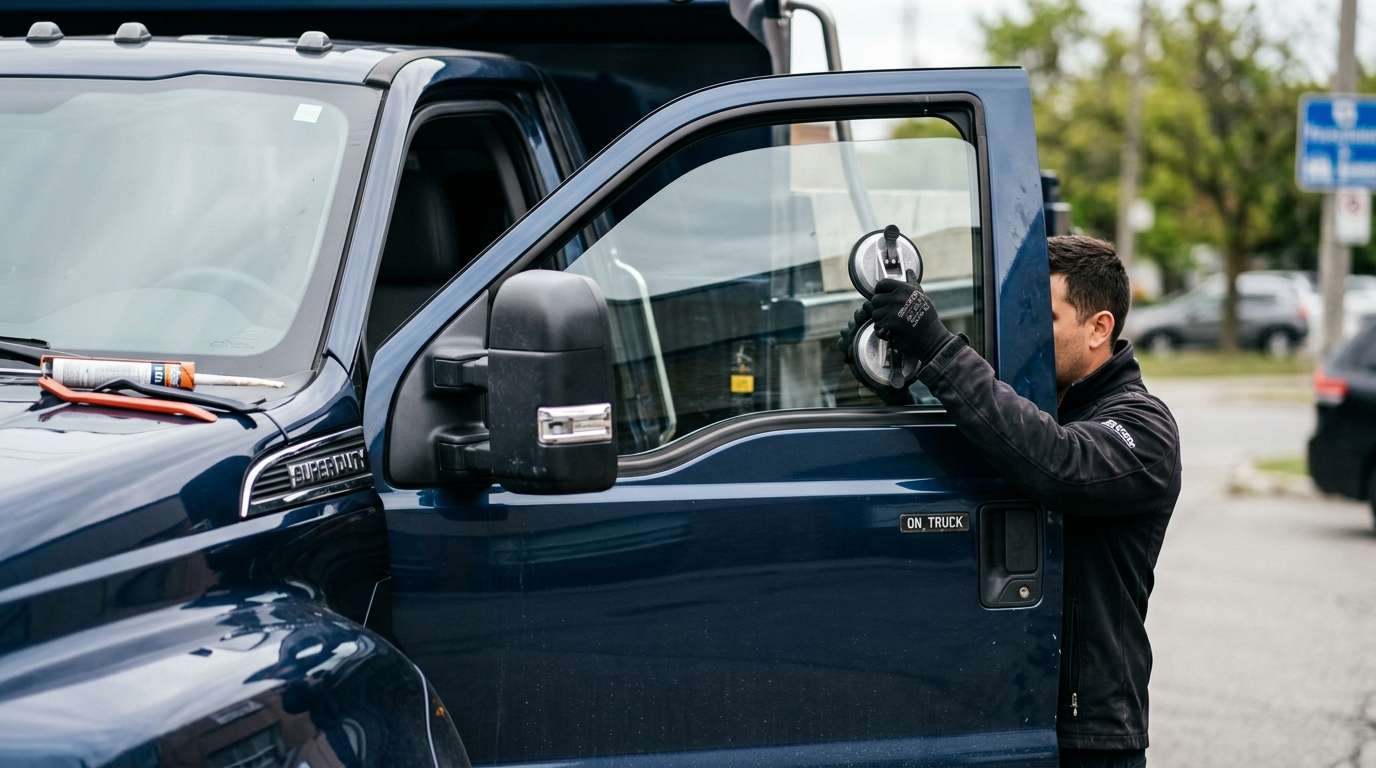
- Setting the Glass: Using heavy-duty suction cups, the new vent glass is carefully maneuvered into the opening. We align it perfectly with the body lines of the R8, ensuring the gaps are symmetrical with the door glass and the roofline.
- Decking: We gently press the glass to "deck" it into the adhesive, ensuring full contact around the entire perimeter.
Phase 6: Reassembly and Final Quality Control
With the glass securely bonded, we begin the process of putting the vehicle back together.
- Interior Reassembly: The C-pillar trim, weather stripping, and any removed panels are snapped back into place. We verify that all clips engage correctly and that there are no gaps or rattles.
- Leak Test: We perform a visual inspection of the seal. While we do not high-pressure wash the car immediately (to allow curing), we ensure the seal is uniform.
- Final Vacuum and Wipe Down: We perform a secondary vacuum of the interior to catch any stray particles. The new glass is polished inside and out, and the door panels are wiped down to remove any fingerprints.
- Safe Drive-Away Time: We advise the client on the "Safe Drive-Away Time" (SDAT), which typically ranges from 30 to 60 minutes depending on humidity and temperature, ensuring the airbag system and structural integrity are fully restored before the car moves.
Why Choose AlexWindshield for Your Audi R8?
The Audi R8 is a high-performance machine that demands high-performance service. General auto glass shops often aim for speed over precision, which can lead to wind noise, water leaks, or damaged interior trims. At AlexWindshield, we prioritize the integrity of your vehicle above all else.
We utilize OEM-quality glass (Original Equipment Manufacturer) or OEE (Original Equipment Equivalent) from reputable suppliers like Pilkington, PGW, or Saint-Gobain, ensuring that the glass tint, thickness, and curvature match your factory specifications perfectly. There is no distortion, and the fit is flawless.
Lifetime Warranty and Trusted Expertise
We stand behind our craftsmanship. Every vent glass replacement performed by AlexWindshield comes with a comprehensive Lifetime Warranty covering workmanship. This protects you against air leaks, water leaks, and molding retention issues for as long as you own the vehicle. When you choose us, you are choosing peace of mind.
If you are in Vaughan, Richmond Hill, Markham, or anywhere in the Greater Toronto Area, do not trust your Audi R8 to just anyone. Trust the Master Technicians who understand the engineering behind your vehicle.
Contact AlexWindshield today to schedule your mobile Audi R8 vent glass replacement. Experience the intersection of luxury service and technical excellence.