The Expansive Skyscape: Restoring the Crown Jewel of Your 2018-2024 GMC Terrain
The second-generation 2018-2024 GMC Terrain introduced a bold, sculpted redesign that completely elevated the compact SUV experience. At the heart of this luxurious interior is the breathtaking Skyscape panoramic sunroof. Spanning both the first and second rows, this massive glass panel floods the cabin with natural light and fresh air, making every commute feel like a premium journey. However, because of its expansive surface area, the GMC Terrain sunroof is uniquely vulnerable to thermal stress, falling tree branches, stray road debris, and sudden impacts. When the glass shatters or the structural integrity of the bonded stationary panel fails, your pristine SUV becomes instantly exposed to the harsh Canadian elements.
As a Master Technician at AlexWindshield, I have seen firsthand the devastation a compromised sunroof can cause to a vehicle’s interior. A shattered panoramic roof isn't just a cosmetic issue; it is a severe safety hazard and a direct gateway for severe water damage that can destroy your vehicle's sensitive electrical systems. You need a specialized, heavily detailed approach to restore your vehicle to factory specifications. This isn't a job for amateurs—it requires precision, premium materials, and technical mastery.
Signs You Need an Immediate GMC Terrain Sunroof Replacement
While a completely shattered roof is obvious, there are other critical indicators that the glass or its bonded assembly on your GMC Terrain 2018-2024 requires full replacement rather than a simple repair:
- Spiderweb Cracking: Even small impact chips on tempered or laminated sunroof glass can rapidly expand into large spiderweb cracks due to the flexing of the vehicle's chassis over uneven roads.
- Severe Water Leaks: If the original factory urethane bonding on the fixed panoramic panel begins to degrade, water will bypass the drainage tubes and soak your headliner.
- Excessive Wind Noise: A whistling sound at highway speeds often indicates that the glass has separated from its adhesive bed or that the panel alignment is completely compromised.
- Motor or Track Binding: Sometimes, broken glass fragments lodge themselves deep within the track mechanisms, permanently damaging the assembly and requiring a comprehensive glass and track overhaul.
Unmatched Mobile Auto Glass Service Across the Greater Toronto Area (GTA)
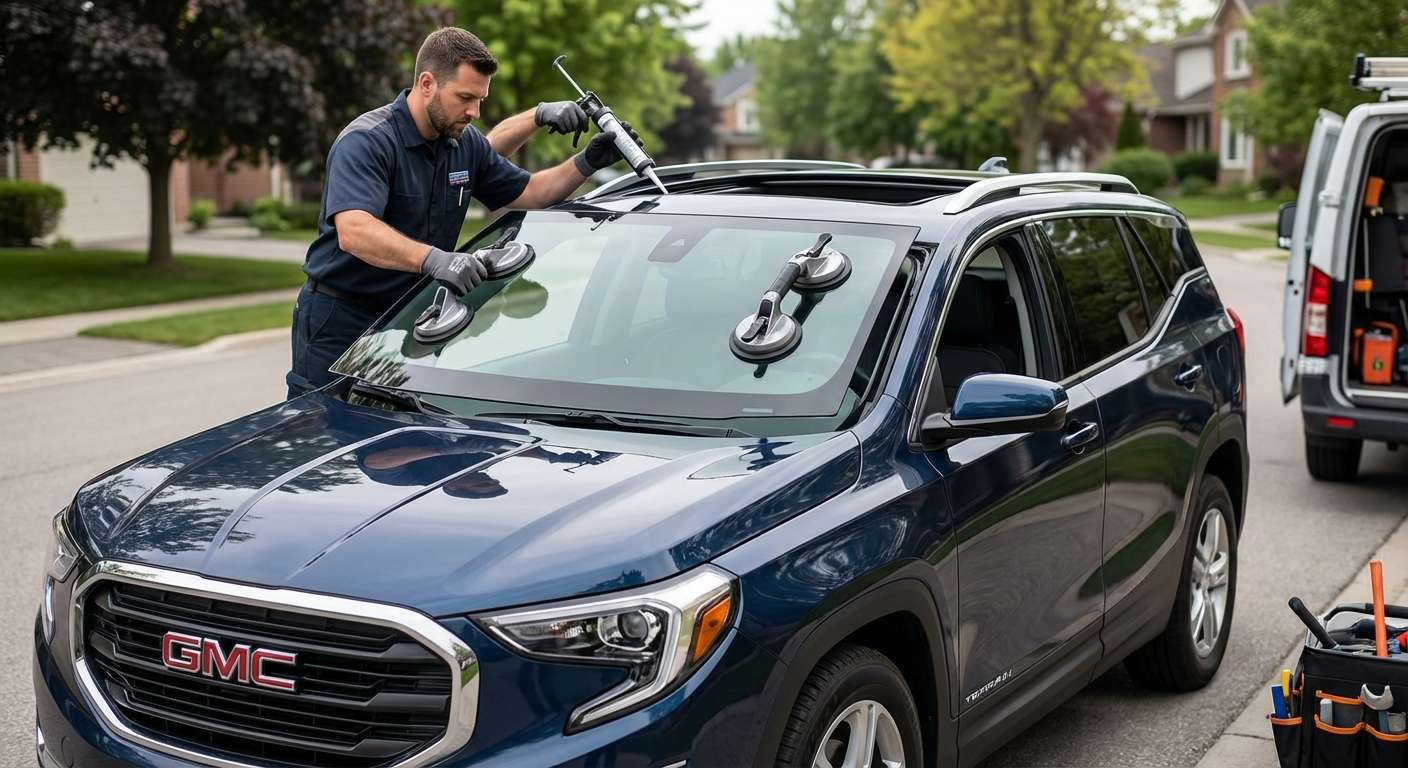
Dealing with a shattered sunroof is stressful enough without the added burden of driving a severely compromised vehicle to a repair shop. That is why AlexWindshield brings our state-of-the-art repair facility directly to you. Our fully equipped mobile service vans cover the entirety of the Greater Toronto Area (GTA).
Whether you are stranded at your corporate office in Markham, parked in your residential driveway in Vaughan, or running errands at a shopping center in Richmond Hill, our Master Technicians will arrive on-site. We safely secure your vehicle against the weather and perform a flawless, factory-grade GMC Terrain sunroof replacement exactly where you are, saving you time and towing expenses.
A Master Technician’s Step-by-Step Sunroof Replacement Process (A to Z)
Replacing the Skyscape panoramic sunroof—specifically the bonded stationary rear glass panel and the heavily integrated front moving panel—is a highly technical procedure. Below is the exact, uncompromising methodology I use to ensure a perfect, leak-proof installation on every 2018-2024 GMC Terrain.
Step 1: Thorough Preparation and Interior Protection
The foremost priority is protecting your pristine interior. Before any tools touch the vehicle, I drape the seats, center console, and dashboard with heavy-duty protective moving blankets. If the sunroof glass has shattered, I meticulously execute the critical step of vacuuming all broken glass shards from the vehicle's interior. Using an industrial-grade HEPA vacuum, I extract every microscopic splinter from the carpet, the leather seat crevices, the sunshade tracks, and the drainage channels. To access the mounting points and the stationary glass urethane bead safely, I carefully detach the A, B, and C pillar trims and gently lower the vehicle's interior headliner, preventing any creases or damage to the fabric.
Step 2: Precision Removal of the Old Glass
For the front moving panel, I precisely unbolt the torx screws connecting the glass to the motorized lift arms. For the fixed rear panoramic panel—which provides structural rigidity to the roof—the removal process is much more complex. I utilize an advanced cold knife and specialized wire-cutting tools to slice through the original factory polyurethane bonding from the outside in. I maintain a precise angle to ensure the vehicle's painted roof structure and pinch weld are never scratched or compromised during the extraction of the old glass.
Step 3: Surface Cleaning and Pinch Weld Preparation
Once the damaged glass is completely removed, the structural frame of the roof is exposed. I use a specialized scraper to trim the old polyurethane adhesive bead down to a uniform 1-2 millimeters. This thin layer acts as a foundation for the new adhesive. Next, I perform a deep surface cleaning using a high-grade, alcohol-based glass cleaner and lint-free wipes. The entire track system is blasted with compressed air and re-vacuumed to ensure absolutely no debris remains, as even a speck of dirt can cause the new high-quality adhesive to fail.
Step 4: Primer Application for Ultimate Adhesion and Rust Prevention
This is a non-negotiable step in professional auto glass replacement. I apply an advanced, chemically reactive primer application to the freshly cleaned pinch weld and any areas where bare metal was inadvertently exposed during the cutting process. This black primer serves a dual purpose: it completely seals the metal to prevent future rust formation, and it creates a molecular bonding surface that interacts perfectly with the urethane. I allow the primer to flash off (dry) for the exact manufacturer-specified duration to ensure maximum chemical readiness.
Step 5: Installation Using High-Quality Adhesive
With the frame primed and ready, I prepare the brand-new, OEM-equivalent sunroof glass. I apply a specialized glass prep solvent to the ceramic frit band of the new panel. Then, using a high-powered electric caulking gun, I lay down a continuous, perfectly uniform V-bead of fast-curing, high-quality adhesive (polyurethane). Applying the bead without any breaks or air pockets is crucial to preventing water leaks. Utilizing heavy-duty suction cups, I carefully lower the new stationary glass panel into the precise center of the roof opening. Light, even pressure is applied to compress the urethane, ensuring a watertight and airtight seal.
Step 6: Alignment, Motor Initialization, and Water Testing
After the fixed panel is bonded, I reinstall the front moving glass panel, meticulously aligning it flush with the vehicle's roofline to prevent wind noise. I then reconnect all electrical harnesses and initiate the sunroof motor recalibration process. The vehicle's computer is commanded to relearn the open, close, and tilt limits of the new glass. Finally, I perform a rigorous water leak test, flooding the roof channels with water to verify that the drains are flowing freely and that the new high-quality adhesive seal is 100% impenetrable. Once verified, the headliner and interior trims are reassembled perfectly.
The Importance of OEM-Quality Glass for Your GMC Terrain
At AlexWindshield, we never compromise on materials. The expansive roof of the 2018-2024 GMC Terrain requires glass that meets exact Original Equipment Manufacturer (OEM) specifications. The glass we install features the precise solar-control tinting required to keep your cabin cool during the harsh GTA summers. Furthermore, the exact curvature of the glass is critical; even a millimeter of deviation in an aftermarket knock-off can result in unbearable wind whistling at highway speeds and premature failure of the sunroof motors due to excess friction. We ensure your new glass matches the exact safety, acoustic, and aesthetic standards of your original GMC vehicle.
Trust AlexWindshield: Your Premier Auto Glass Authority
Replacing a panoramic sunroof is a major technical undertaking that dictates the safety, comfort, and structural integrity of your SUV. Don't trust your GMC Terrain to just anyone. As the leading provider of mobile auto glass solutions, AlexWindshield combines master-level craftsmanship, premium materials, and unparalleled convenience.
Whether you need service in Vaughan, Richmond Hill, Markham, or anywhere else across the GTA, our mobile units are ready to restore your vehicle to perfection. We stand proudly behind our meticulous workmanship, offering an industry-leading Lifetime Warranty on our auto glass replacements against any leaks, whistling, or manufacturer defects. We ensure that when you drive away, you do so with complete peace of mind.
Contact AlexWindshield today to schedule your mobile GMC Terrain sunroof replacement and experience the highest standard of automotive glass repair in the Greater Toronto Area!