The Engineering Shift: Understanding Your 2008-2011 Subaru Impreza Door Glass
The 2008 to 2011 Subaru Impreza completely redefined the automaker's engineering philosophy, moving away from the iconic frameless windows of previous generations to a much more robust, fully framed door design. While this structural evolution significantly reduced cabin wind noise and drastically improved side-impact safety for drivers, it also completely transformed the technical dynamics of a door glass replacement. When an unexpected break-in occurs or a rogue stone on the highway shatters your side window, you are instantly exposed to harsh weather, elevated road noise, and serious security risks. At AlexWindshield, we don't just replace glass; we restore the quiet, secure, and structurally sound cabin experience that Subaru engineers originally intended.
Professional Door Glass Replacement for Subaru Impreza Across the GTA
Navigating the bustling streets of the Greater Toronto Area (GTA) requires a vehicle that is in peak condition. Driving with a shattered driver or passenger side window is not only uncomfortable but deeply unsafe. The specialized technicians at AlexWindshield bring dealership-level auto glass expertise directly to your driveway. We proudly offer comprehensive mobile auto glass services across the region, heavily focusing on specialized door glass replacement in Vaughan, precise window alignments in Richmond Hill, and rapid emergency glass clearing in Markham. Our mobile response units ensure you do not have to drive a compromised Subaru Impreza to a distant repair shop.
Why Immediate Replacement is Crucial for Your Impreza
When the tempered door glass of your 2008-2011 Subaru Impreza shatters, it breaks into thousands of blunt-edged cubes. While this is a safety feature designed to prevent lacerations, it introduces a completely different set of mechanical hazards to your vehicle's internal door components. Delaying your door glass replacement can lead to the following cascading issues:
- Internal Mechanism Damage: Glass shards can easily jam the power window regulator, burning out the motor if you accidentally trigger the window switch.
- Water Intrusion: Without the glass to act as a barrier, rain and moisture will bypass the weather stripping, potentially short-circuiting your Impreza's internal door wiring and speakers.
- Security Vulnerability: A missing window leaves your interior, personal belongings, and the vehicle itself completely vulnerable to theft.
- Structural Integrity: The fully framed door glass of the 2008-2011 generation works in tandem with the door shell to maintain rigidity during operation. Driving without it causes excessive stress on the window run channels.
Master Technician Blueprint: The AlexWindshield Step-by-Step Replacement Process
As Master Technicians at AlexWindshield, we adhere to a strictly regulated, step-by-step protocol to ensure your Subaru Impreza door glass replacement is executed flawlessly. Unlike standard windshields that require ADAS camera calibration, door glass replacement demands meticulous mechanical disassembly, hazard remediation, and precise alignment. Here is our exact A-to-Z process:
Step 1: Interior Protection and Workspace Preparation
Before we touch a single tool, our priority is protecting your vehicle. We lay down heavy-duty protective covers over your Impreza's seats, center console, and floor mats. We tape off the exterior painted surfaces of the door frame to prevent any accidental scratching during the glass extraction and installation phases. Safety glasses and cut-resistant gloves are worn at all times by our technicians to handle the compromised structural elements.
Step 2: Careful Removal of the Interior Door Panel
To access the internal window regulator, we must remove the interior trim. For the 2008-2011 Subaru Impreza, this involves expertly unseating the hidden Phillips-head screws located behind the door handle bezel and inside the armrest pull-cup. Using specialized, non-marring nylon pry tools, we gently pop the perimeter plastic retaining clips without snapping them. We then disconnect the power window master switch assembly, the power lock cables, and the courtesy light wiring before safely setting the door panel aside.
Step 3: Comprehensive Vacuuming and Hazard Remediation
This is one of the most critical steps in a proper side window replacement. We carefully peel back the factory vapor barrier to expose the inner door cavity. Using a high-powered industrial shop vacuum with specialized micro-crevice attachments, we meticulously vacuum all broken glass shards from the vehicle's interior, the door's mechanical cavity, and the rubber weather stripping. Failing to remove every shard will result in a highly irritating rattling noise every time you close the door, and can cause the new glass to bind or scratch.
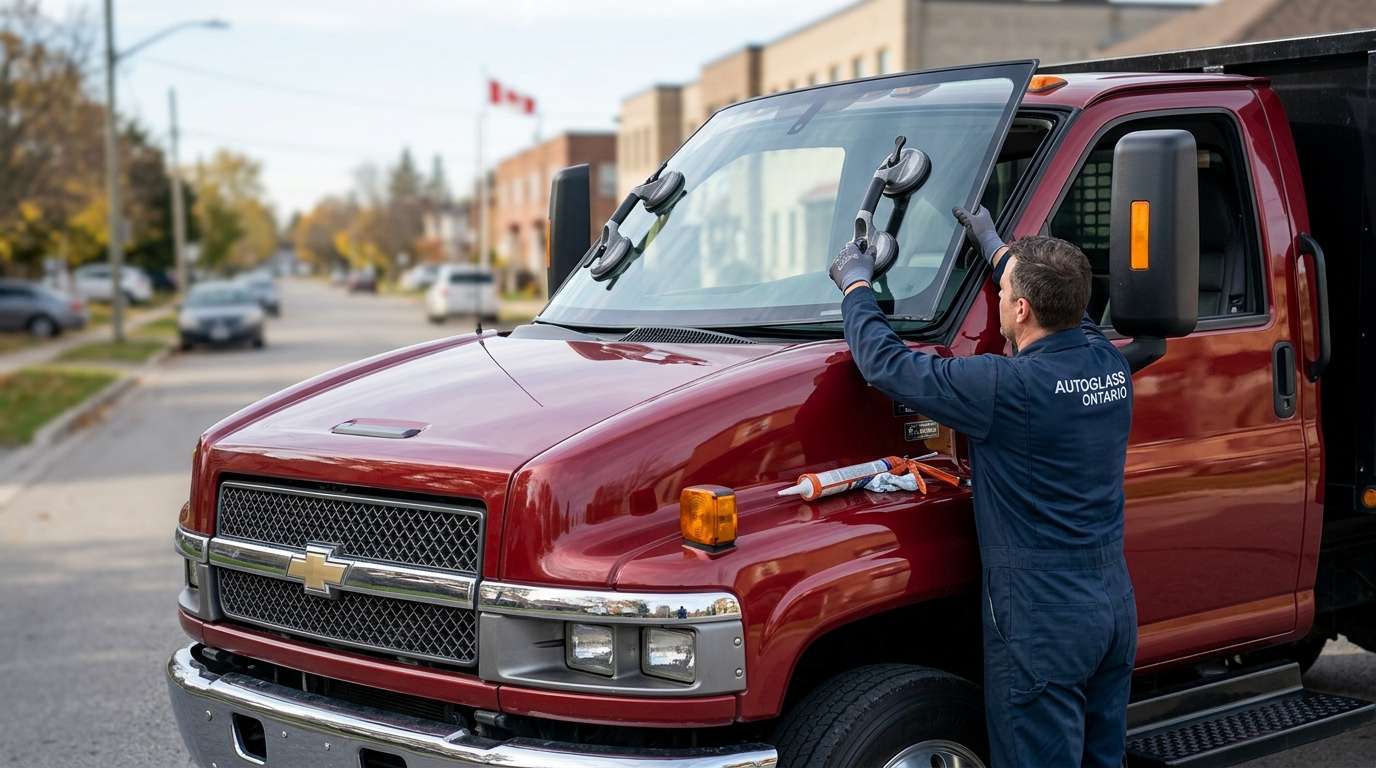
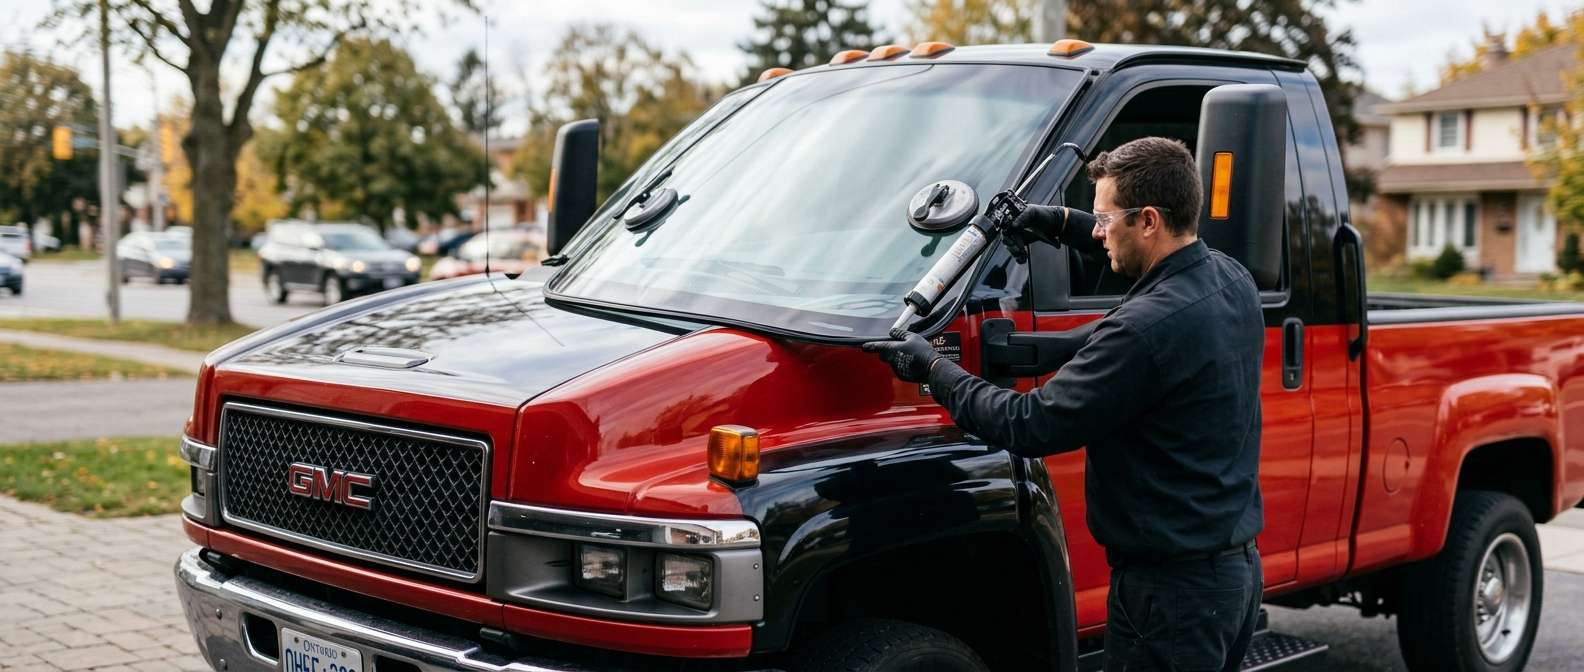
Step 4: Surface Cleaning, Primer Application, and Adhesive Sealing
Depending on whether we are servicing the primary drop glass or a fixed rear-door quarter glass panel on your Impreza, advanced chemical bonding is required. First, we perform a thorough surface cleaning of the mounting brackets, internal tracks, and the vehicle's bare metal frame where necessary. If there is any exposed metal from previous scratches, we apply an anti-corrosion primer. For fixed glass segments and structural regulator clips that require bonding, we ensure the installation of the new glass using high-quality adhesive. We apply a specialized automotive urethane and precisely formulated primer to create an impermeable, vibration-resistant bond. Additionally, the vapor barrier is resealed using high-grade butyl adhesive to guarantee zero water leaks into the cabin.
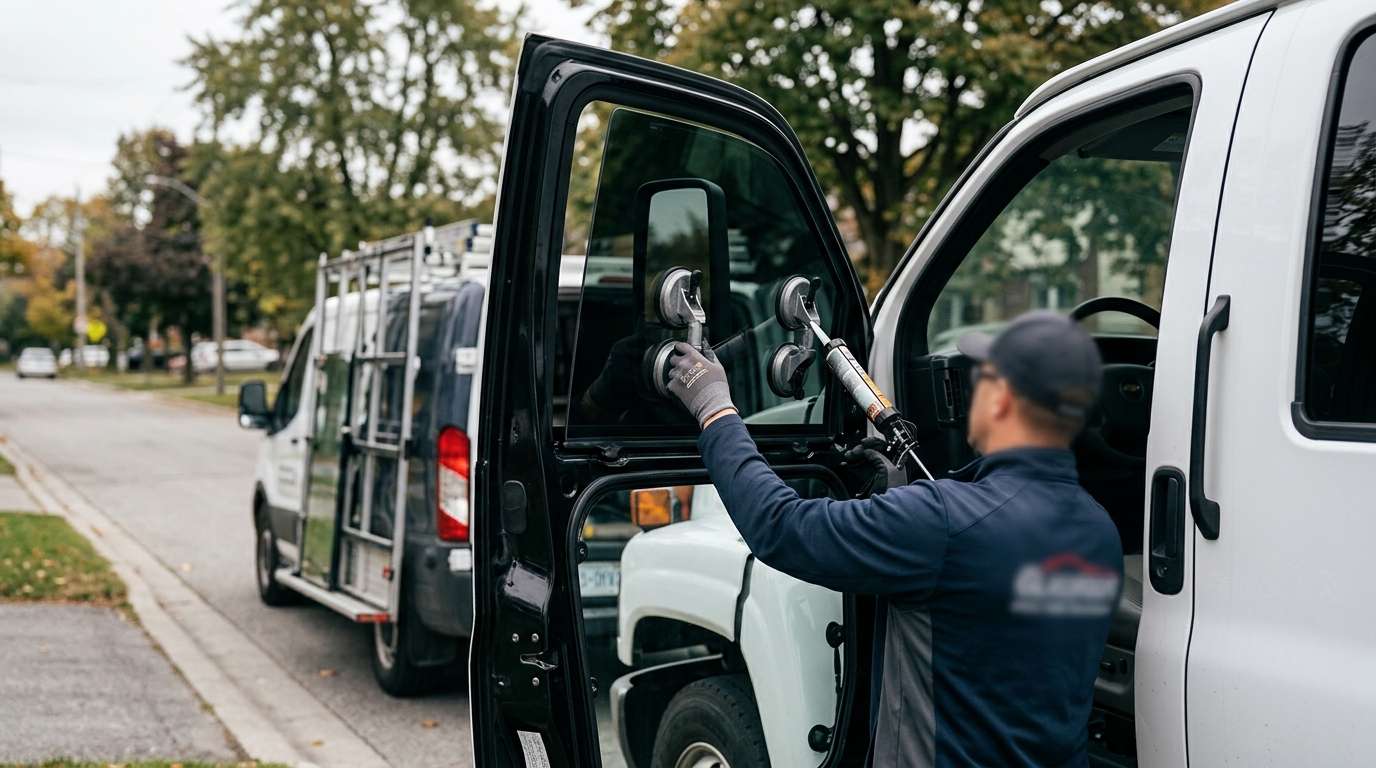
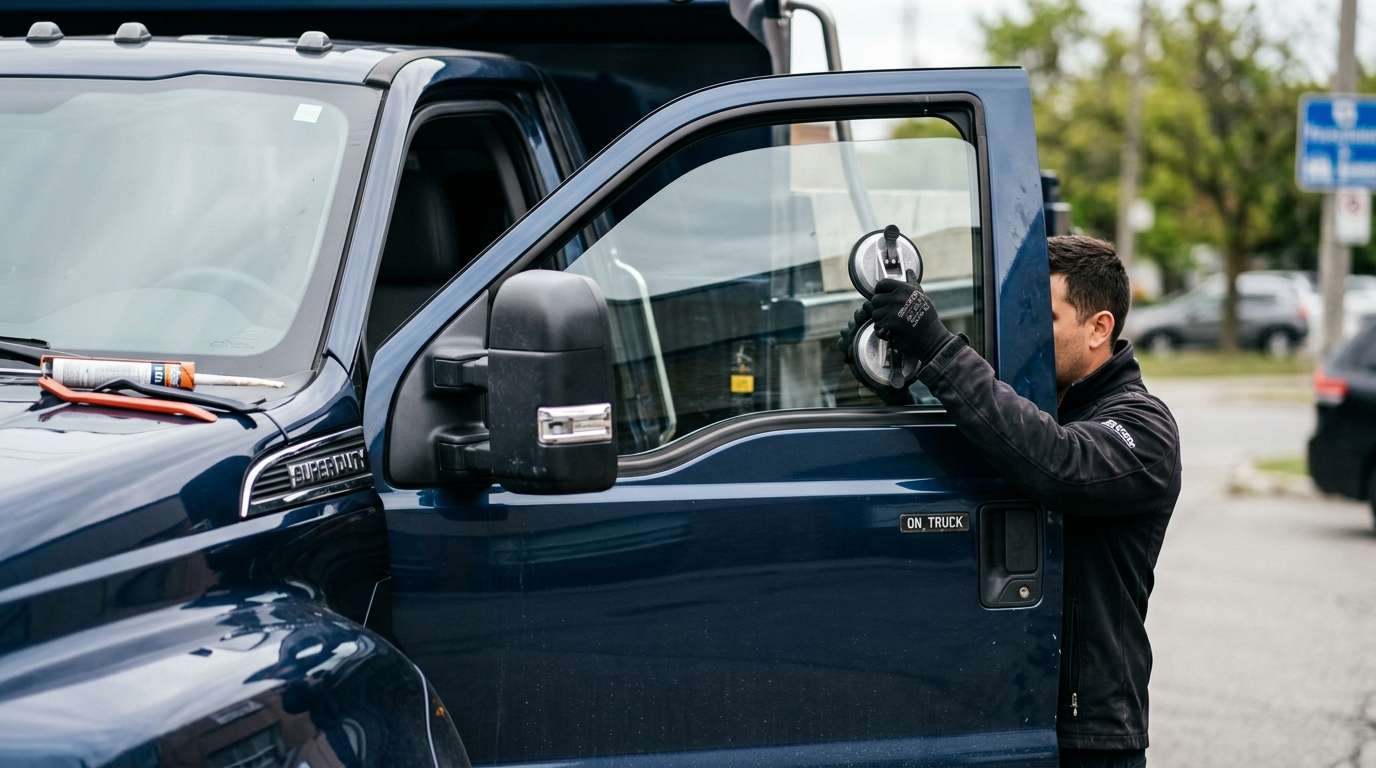
Step 5: Installing the New High-Quality Door Glass
With the tracks cleaned and the internal mechanisms prepped, we take the brand new, OEM-equivalent auto glass and gently angle it down into the door frame. We carefully slide the glass through the exterior run channels, ensuring the weather stripping is not pinched. The new glass is then lowered into the mounting clamps of the power window regulator. We hand-thread the mounting bolts to ensure perfect thread engagement, then torque them to Subaru's exact factory specifications.
Step 6: Regulator Calibration and Operational Testing
Before any interior trim is reattached, we temporarily reconnect the power window switch. We cycle the window up and down multiple times. Our technicians monitor the electric motor for any signs of strain and ensure the glass rolls up smoothly without tilting or binding. We check the top seal to guarantee the glass applies the correct pressure against the upper weather stripping, ensuring a perfectly airtight and watertight cabin.
Step 7: Final Reassembly and Interior Detailing
Once the mechanical alignment is confirmed perfect, we re-secure the vapor barrier with absolute precision. The interior door panel is carefully realigned, ensuring every plastic retention clip pops firmly back into its factory position. The hidden screws are replaced, and the trim bezels are snapped in. Finally, we apply a streak-free, ammonia-free glass cleaner to both the inside and outside of the new window, leaving your Subaru Impreza looking as pristine as the day it rolled off the assembly line.
Dedicated Mobile Auto Glass Service in Vaughan, Richmond Hill, and Markham
A broken car window disrupts your life, but repairing it shouldn't. As the premier auto glass specialists in the Greater Toronto Area, we have optimized our mobile service routes to provide the fastest possible response times. Whether you are at your office in the commercial districts of Markham, parked at a shopping center in Vaughan, or relaxing at your home in Richmond Hill, our fully equipped mobile service vans come directly to you. We carry all the specialized tools, replacement glass, vacuuming equipment, and premium adhesives required to execute a flawless, driveway-friendly repair. You simply hand us the keys, and we handle the rest, ensuring your day continues without skipping a beat.
The AlexWindshield Guarantee: Choose the GTA's Master Technicians
Your 2008-2011 Subaru Impreza is a rugged, reliable machine built for the harsh Canadian climate, and it deserves replacement parts and workmanship that reflect that standard. At AlexWindshield, we refuse to cut corners. From our exhaustive internal vacuuming protocols to our use of industry-leading primers and high-quality adhesives, every step of our process is designed for longevity, safety, and acoustic perfection.
When you choose AlexWindshield for your auto glass needs, you aren't just getting a fast repair; you are investing in peace of mind. We stand confidently behind our craftsmanship, which is why every single door glass replacement we perform comes backed by our comprehensive Lifetime Warranty against air leaks, water leaks, and manufacturer defects. Do not let a shattered window compromise your safety or your vehicle's interior. Contact AlexWindshield today to schedule your mobile auto glass replacement anywhere in the GTA, and experience the gold standard of automotive glass repair.