Restoring Your 5th Generation Minivan: Chrysler Town & Country 2008-2016 Back Glass Replacement
The 2008-2016 Chrysler Town & Country (built on the renowned RT platform) revolutionized the modern family road trip. With its cavernous interior, legendary Stow 'n Go seating, and sophisticated rear entertainment systems, this minivan was designed to be a sanctuary on wheels. However, when the expansive rear window shatters, that sanctuary is instantly compromised. Unlike front windshields which are made of laminated glass, the rear window is constructed from tempered safety glass. When impacted, it instantly detonates into thousands of granular pieces, leaving the expansive cabin of your Town & Country completely exposed to the harsh Canadian weather, road debris, and potential theft. As a Master Technician at AlexWindshield, I have replaced countless rear windows on these specific minivans, and I know exactly what it takes to restore your vehicle's safety, security, and structural integrity to factory standards.
Why Immediate Back Window Replacement is Critical for Your Town & Country
Driving with a shattered rear window in a minivan is not just an inconvenience; it is a severe safety hazard. The aerodynamic draft created by a large open rear cavity can draw exhaust fumes directly into the passenger cabin, endangering your family. Furthermore, the back glass on the 2008-2016 Chrysler Town & Country houses crucial electrical components, including the rear defroster grid and the mounting points for the rear windshield wiper motor. Leaving the back open exposes these sensitive electrical connectors to rain, snow, and corrosive road salt.
Prompt Chrysler Town & Country back glass replacement ensures that your interior remains pristine, your electrical components are protected from water damage, and your rearward visibility is immediately restored. At AlexWindshield, we treat this replacement not just as a piece of glass, but as a comprehensive structural and electrical restoration.
Our Master Technician A-Z Back Glass Replacement Process
Replacing the back glass on a minivan requires far more than just gluing a new window into place. It requires extensive cleanup, meticulous panel removal, and precise urethane application. Here is our rigorous, step-by-step technical process:
Step 1: Vehicle Preparation and Interior Protection
Before any tools touch your vehicle, we secure the perimeter. We start by laying down heavy-duty protective moving blankets over the rear bumper and the threshold of the liftgate to prevent any scratching from tools or glass debris. Inside the cabin, we cover the third-row Stow 'n Go seating area and the rear cargo floor with thick drop cloths. Protecting your minivan's interior from highly abrasive glass shards and adhesive chemicals is our first priority.
Step 2: Liftgate Interior Panel Removal and Electrical Disconnection
Because the rear glass is tempered and has shattered into the liftgate itself, we must strip down the interior of the rear door. Using specialized non-marring trim removal tools, we carefully pop the retaining clips and remove the plastic interior liftgate panels. Once the inner metal skeleton of the tailgate is exposed, we carefully disconnect the wiring harnesses for the rear window defroster grids and unplug the rear wiper motor assembly. We then remove the exterior wiper arm and the large retaining nut to free the wiper motor from the glass mounting area.
Step 3: Comprehensive Glass Shard Vacuuming and Remediation
This is arguably one of the most critical steps in a back glass replacement. Tempered glass shatters outward, but thousands of pieces inevitably fall down into the hollow cavity of the metal liftgate. If left inside, these shards will create an infuriating rattling noise every time you close the trunk or drive over a bump. Using high-powered, industrial-grade shop vacuums equipped with specialized micro-crevice tools, we extract every single shard of glass from the internal door cavity, the latch mechanisms, and the surrounding cargo area. We vacuum the liftgate while it is open, half-closed, and fully closed to ensure gravity helps dislodge any hidden pieces.
Step 4: Removal of the Old Polyurethane Seal
With the liftgate completely clear of broken glass, we focus on the window frame (the pinch weld). The shattered glass leaves behind a jagged ring of original polyurethane adhesive embedded with glass remnants. Using a specialized cold knife and advanced auto glass extraction tools, we carefully shave down the old urethane bead. We cut it down to a thin, uniform base layer of about 1-2 millimeters. This meticulous trimming provides the perfect bonding substrate for the new adhesive while ensuring the metal frame is not scratched, which could lead to future rust.
Step 5: Surface Cleaning and Primer Application
Preparation dictates the quality of the seal. We scrub the pinch weld with a specialized, alcohol-based auto glass cleaner to remove all dirt, grease, and moisture. If any minor scratches occurred on the metal frame during the lifecycle of the vehicle, we treat them immediately. We apply a premium, fast-curing black glass primer to any exposed bare metal to prevent corrosion. We also apply a specific glass-bonding primer to the frit band (the black painted edge) of the brand-new replacement glass. This primer acts as a chemical bridge, ensuring an unbreakable bond between the glass and the urethane.
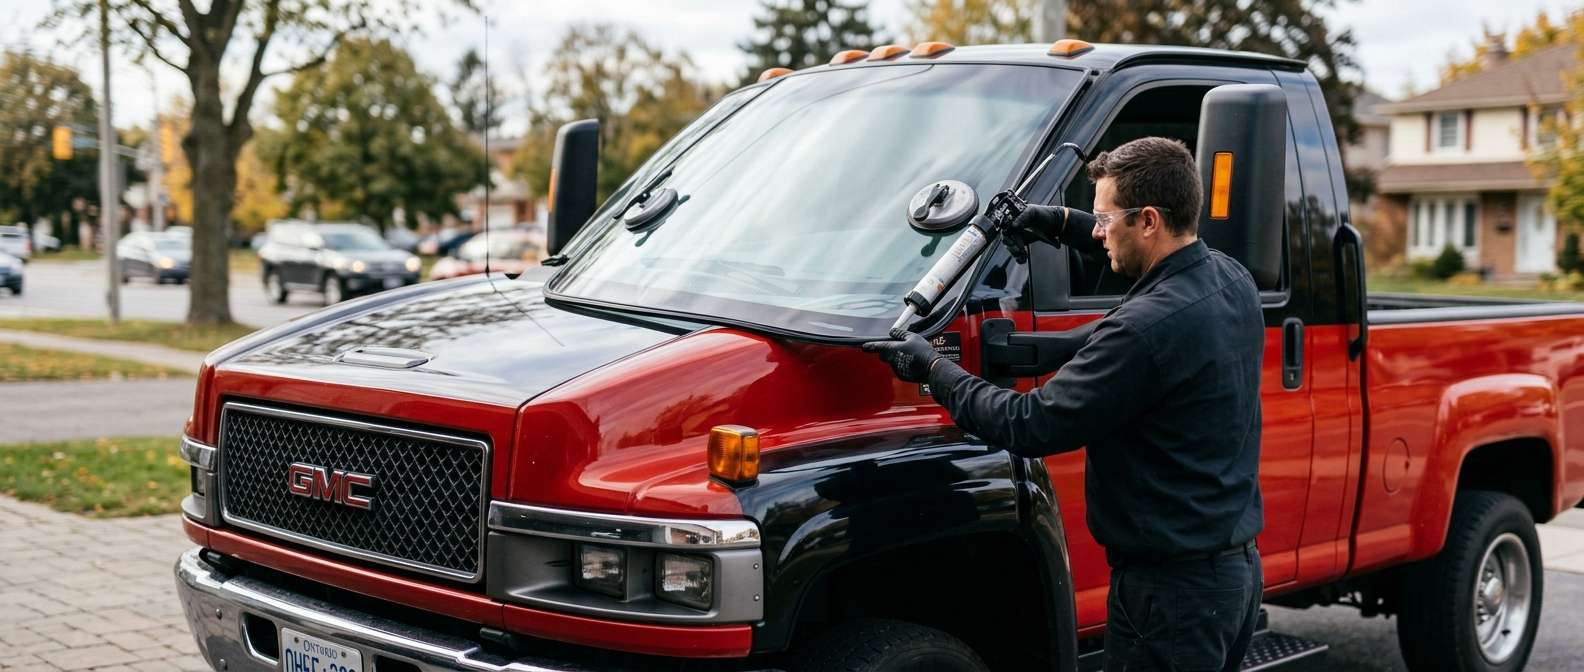
Step 6: High-Quality Urethane Adhesive Application
For the Chrysler Town & Country, we utilize only OEM-grade, high-modulus, advanced-cure polyurethane adhesive. Using a high-ratio electric caulking gun, we extrude a perfectly uniform, continuous "V-bead" of urethane directly onto the prepared pinch weld. The V-shape is a crucial technique used by Master Technicians; it ensures that when the glass is pressed into place, the adhesive compresses evenly without air pockets, creating a flawless, watertight, and structurally sound seal.
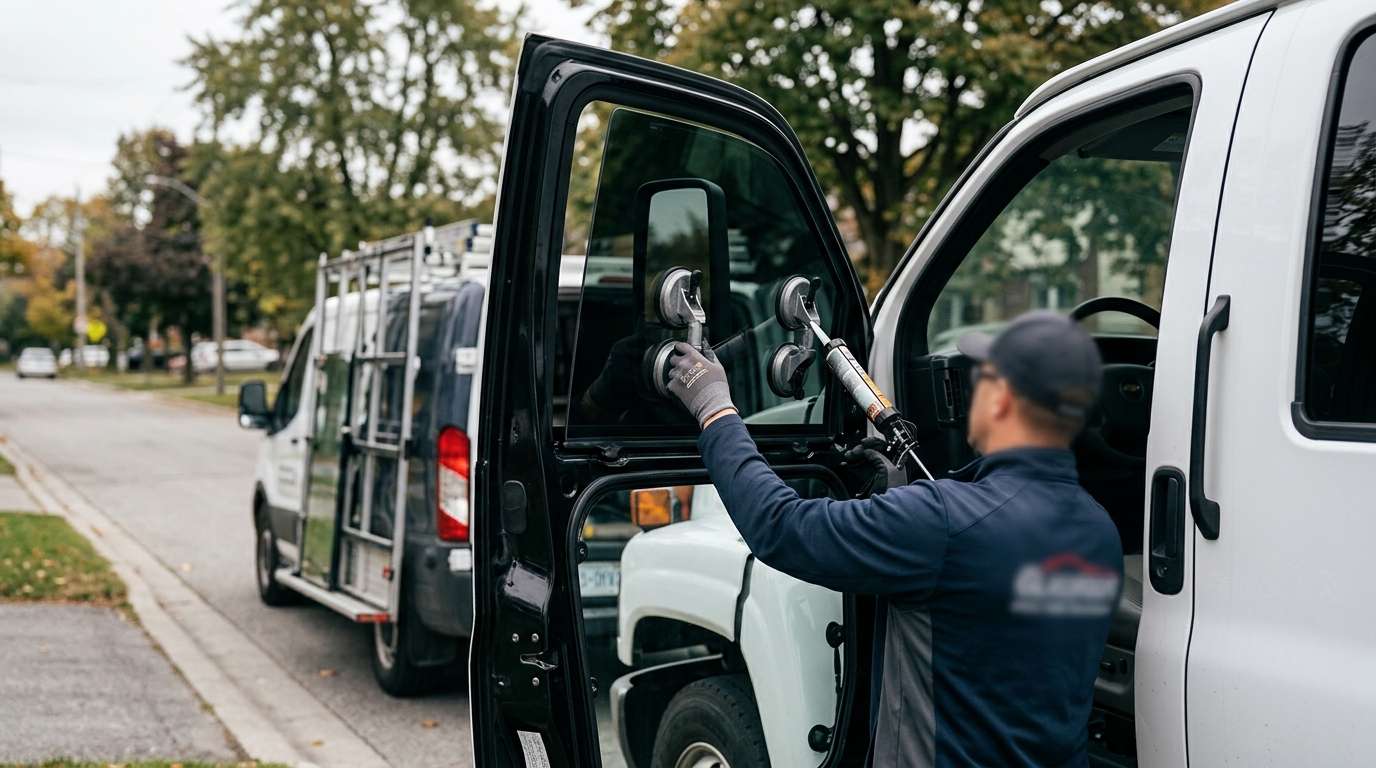
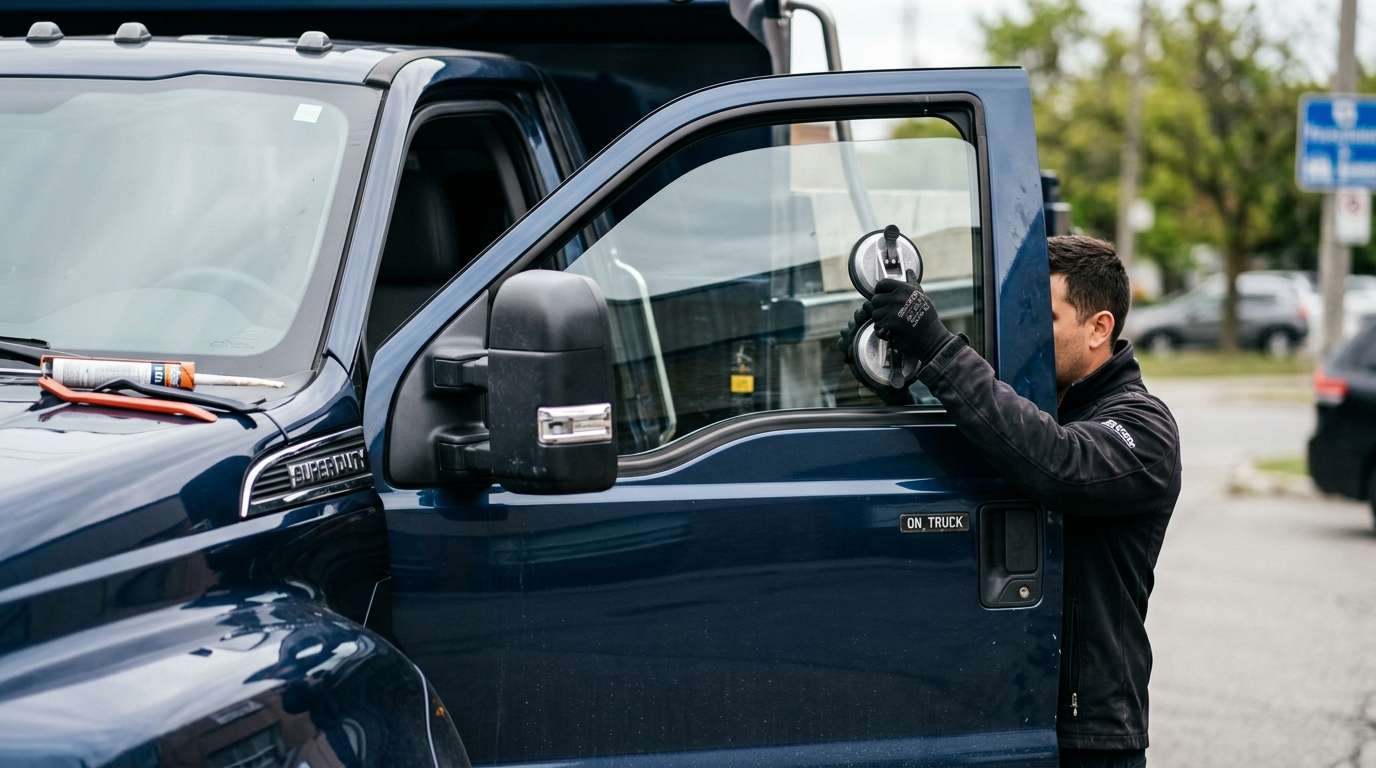
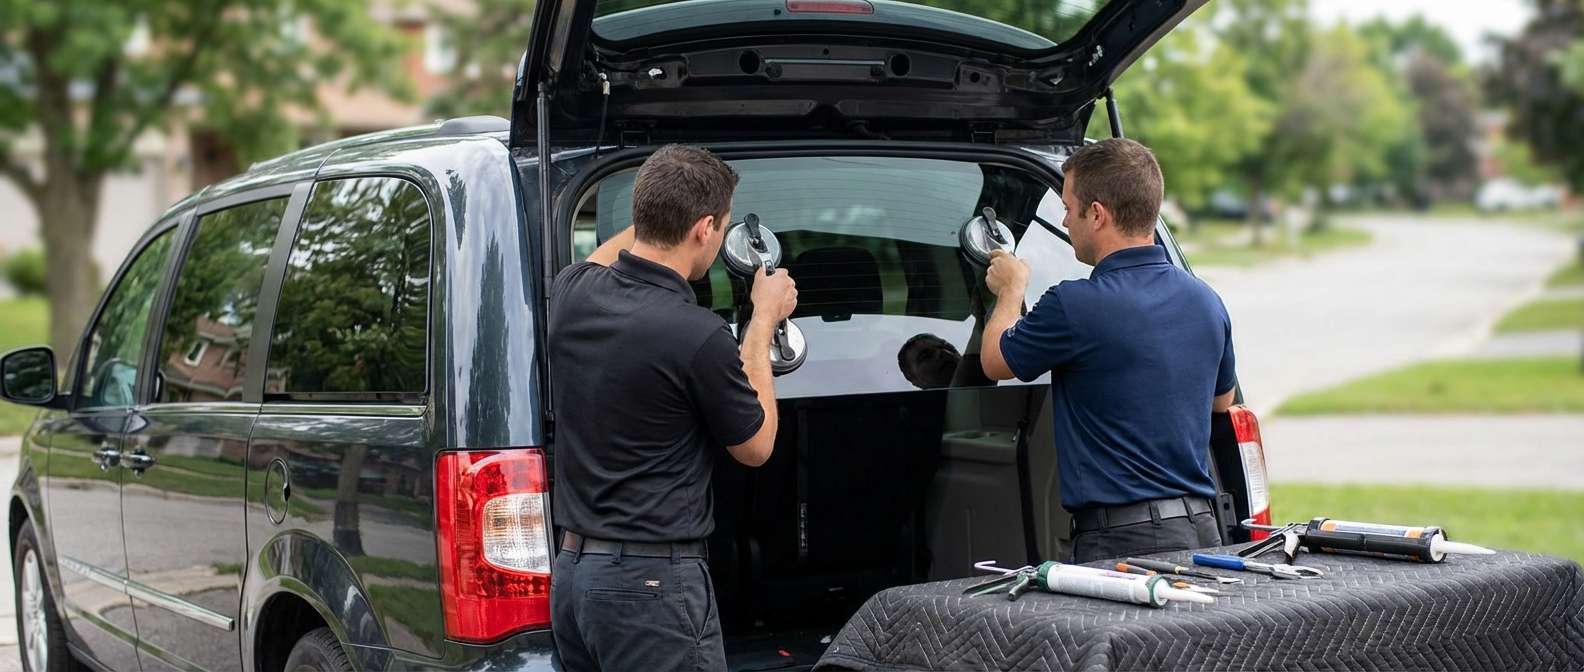
Step 7: Precision Glass Installation and Reassembly
With the urethane applied, two technicians carefully lift the new, factory-spec rear glass. We align the glass perfectly with the liftgate's frame, ensuring the gaps are perfectly even on all sides. Gentle, even pressure is applied to set the glass into the urethane bed. Once set, we tape the glass in place to prevent any microscopic shifting while the adhesive begins its flash-cure process.
Next, we reverse the teardown process:
- Electrical Reconnection: We reattach the sensitive defroster grid tabs, ensuring a solid connection for winter visibility.
- Wiper Assembly: The rear wiper motor is re-mounted, and the exterior wiper arm is reattached and torqued to factory specifications.
- Panel Reinstallation: The interior liftgate plastic panels are carefully snapped back into place using fresh retaining clips where necessary, ensuring a tight, rattle-free fit.
Finally, we clean the new window to a streak-free shine and perform a full functionality test on the wiper, defroster, and latch mechanism.
Premium Mobile Auto Glass Services Across the Greater Toronto Area (GTA)
We understand that a shattered back window leaves your vehicle completely immobile and vulnerable. Driving it to a shop is often out of the question due to the lack of rear visibility and the risk of weather damage. That is why AlexWindshield brings the glass shop directly to you.
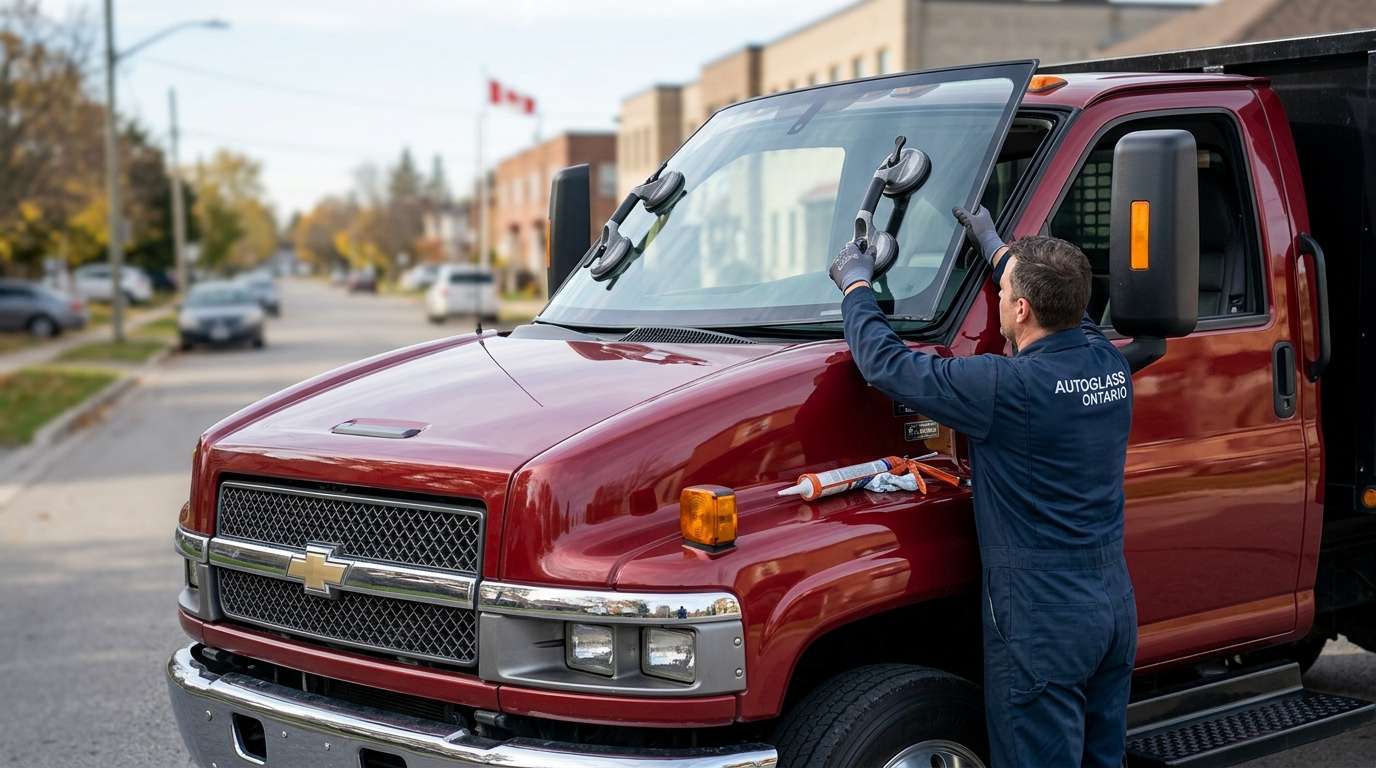
We provide exceptional, fully-equipped mobile auto glass services in the GTA. Our climate-controlled, state-of-the-art service vans are deployed across the region to perform on-site replacements. Whether you have suffered a break-in while parked in a residential driveway in Vaughan, backed into a low-hanging branch outside a shopping plaza in Richmond Hill, or discovered weather-related glass stress fractures while at your office in Markham, our technicians arrive promptly at your location. We carry all the necessary tools, power supplies, and vacuums to perform a flawless, factory-grade installation right where your vehicle sits, saving you towing fees and wasted time.
Why Choose AlexWindshield for Your Chrysler Auto Glass Needs?
When it comes to the safety of your family minivan, you cannot afford to cut corners. As a leading authority in automotive glass restoration, AlexWindshield guarantees precision, durability, and peace of mind. We source only the highest quality OEE (Original Equipment Equivalent) or OEM glass, ensuring that your new back window perfectly matches the factory tint, defroster layout, and structural specifications of your 2008-2016 Chrysler Town & Country.
Most importantly, we stand behind our craftsmanship. Every single installation we perform is backed by our comprehensive Lifetime Warranty. This warranty protects you against any wind noise, water leaks, or manufacturer defects in the glass for as long as you own the vehicle. When you need unparalleled expertise, spotless cleanups, and the most reliable mobile auto glass services in the GTA, trust the Master Technicians at AlexWindshield to get you back on the road safely and securely.