Restoring the Signature Comfort of Your 2008-2016 Chrysler Town & Country
The 5th generation 2008-2016 Chrysler Town & Country completely redefined the modern family road trip. With its luxurious interior, innovative seating arrangements, and advanced multi-zone climate control, it was engineered to be a sanctuary on wheels. However, when a stray piece of highway debris, severe weather, or an unfortunate break-in shatters your vehicle's vent glass, that carefully crafted sanctuary is instantly compromised. Unlike a standard crack, tempered vent glass is designed to shatter completely upon impact. This leaves your minivan exposed to the elements, creates an ear-splitting wind howl at highway speeds, and poses a serious safety hazard to your passengers. At AlexWindshield, we understand that a compromised cabin is not an option for your family.
Replacing the vent glass on this specific generation of the Chrysler minivan is not a simple slap-and-dash repair. It requires a meticulous, technically precise approach to ensure the vehicle remains watertight, secure, and cosmetically flawless. Whether the damage is to the stationary front door vent glass or the rear quarter vent assembly, our master technicians bring dealership-level expertise directly to your driveway.
Premium Mobile Auto Glass Replacement Across the Greater Toronto Area (GTA)
A shattered vent window means your vehicle is essentially undrivable and exposed to theft and weather. Driving a minivan full of family members to a repair shop with an open, glass-filled window frame is stressful and dangerous. That is why AlexWindshield offers comprehensive, fully equipped mobile auto glass services right to your location.
Our fleet of specialized mobile service units operates seamlessly across the Greater Toronto Area (GTA). We specifically cater to communities that demand prompt, high-quality automotive care, providing rapid-response mobile service to Vaughan, Richmond Hill, and Markham. Whether you are parked in a suburban driveway in Vaughan, at a corporate office lot in Markham, or running errands in Richmond Hill, our master technicians arrive with the precise Chrysler Town & Country vent glass and all the premium materials needed to complete the job on-site.
Master Technician's Guide: Step-by-Step Chrysler Town & Country Vent Glass Replacement
As a Master Technician at AlexWindshield, I take immense pride in our rigorous, step-by-step replacement methodology. We do not cut corners. The 2008-2016 Chrysler Town & Country features intricate interior trims, sensitive electrical actuators for power vents, and specific acoustic dampening materials. Here is our comprehensive A-to-Z process for replacing your minivan's vent glass to factory specifications.
Step 1: Comprehensive Interior Protection and Damage Assessment
The moment we arrive at your location in the GTA, our first priority is protecting the flawless interior of your Chrysler. We begin by laying down heavy-duty protective drop cloths over the leather or fabric seats, the center console, and the floor mats. We apply specialized low-tack automotive tape around the exterior painted surfaces surrounding the vent glass frame to prevent any accidental scratching during the extraction process. A thorough damage assessment is then conducted to verify the integrity of the window frame and to check for any structural warping that might impede the new installation.
Step 2: Thorough Glass Shard Vacuuming and Extraction
Because automotive vent glass is manufactured from tempered glass, it does not merely crack—it explodes into thousands of tiny, pebble-like shards. These shards invariably find their way into the deepest crevices of your vehicle. Utilizing a high-powered, industrial-grade shop vacuum equipped with specialized micro-attachments, we meticulously extract every single piece of broken glass. We thoroughly vacuum the seats, the floorboards, the child seat anchors, and the cargo area. Ensuring that your family is safe from hidden, sharp glass fragments is a non-negotiable standard at AlexWindshield.
Step 3: Interior Trim and Door Panel Removal
To properly access the mounting points, electrical connections, and the lower channel of the vent glass, we must remove the interior panels. Using specialized non-marring nylon pry tools, our technicians carefully unclip and remove the interior door panels or rear quarter trim pieces specific to the 2008-2016 Chrysler Town & Country. This step is critical for two reasons. First, it allows us to access the deep cavity of the door or quarter panel to vacuum out the broken glass shards that have fallen inside—preventing future rattling noises. Second, it gives us unobstructed access to disconnect any wiring harnesses related to power-operated vent actuators or window track mechanisms without causing electrical faults.
Step 4: Removal of the Damaged Glass Frame and Old Adhesive
With the interior stripped back and protected, we focus on the exterior. If the vent glass is a bonded stationary piece, we use cold knife tools and specialized wire-cutting systems to cleanly slice through the original factory polyurethane adhesive holding the remaining glass frame in place. We carefully extract the damaged assembly. Once removed, we use sharp technician scraper blades to pare down the old urethane bead on the vehicle's pinch weld to a thickness of approximately 1-2 millimeters. Leaving this thin base layer of original adhesive ensures the strongest possible chemical bond for the new installation.
Step 5: Surface Preparation and Primer Application
A flawless vent glass replacement relies entirely on meticulous chemical preparation. Any exposed bare metal on the pinch weld—caused by previous damage or the removal process—is treated with a premium anti-corrosion auto glass primer. We then thoroughly clean the bonding surface of the new, OEM-equivalent Chrysler Town & Country vent glass using highly formulated, lint-free glass cleaners. Following the cleaning, a specialized glass primer is applied to the frit band (the black painted edge) of the new glass. This primer acts as a bonding agent and UV protectant, preventing sunlight from degrading the adhesive over time. We strictly observe the manufacturer's required "flash time" to allow the primer to cure perfectly.
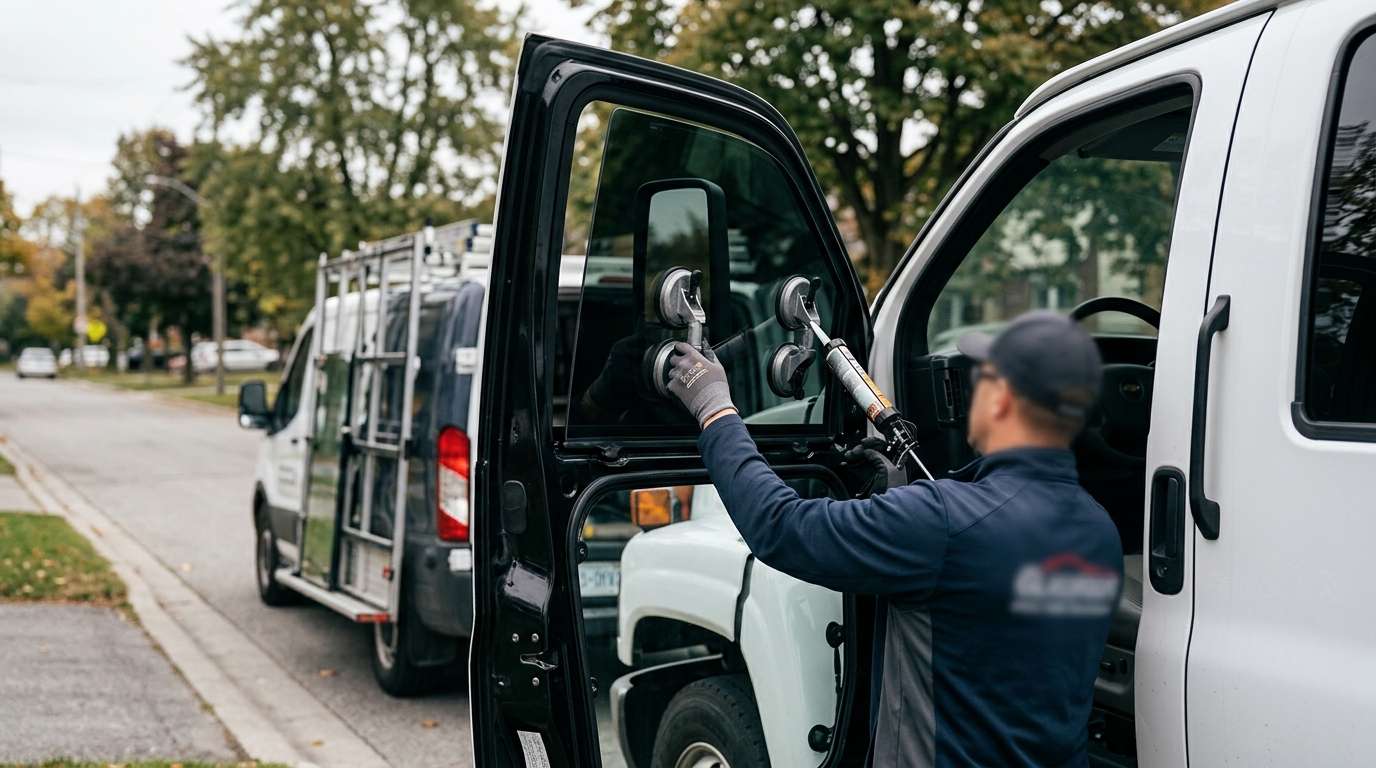
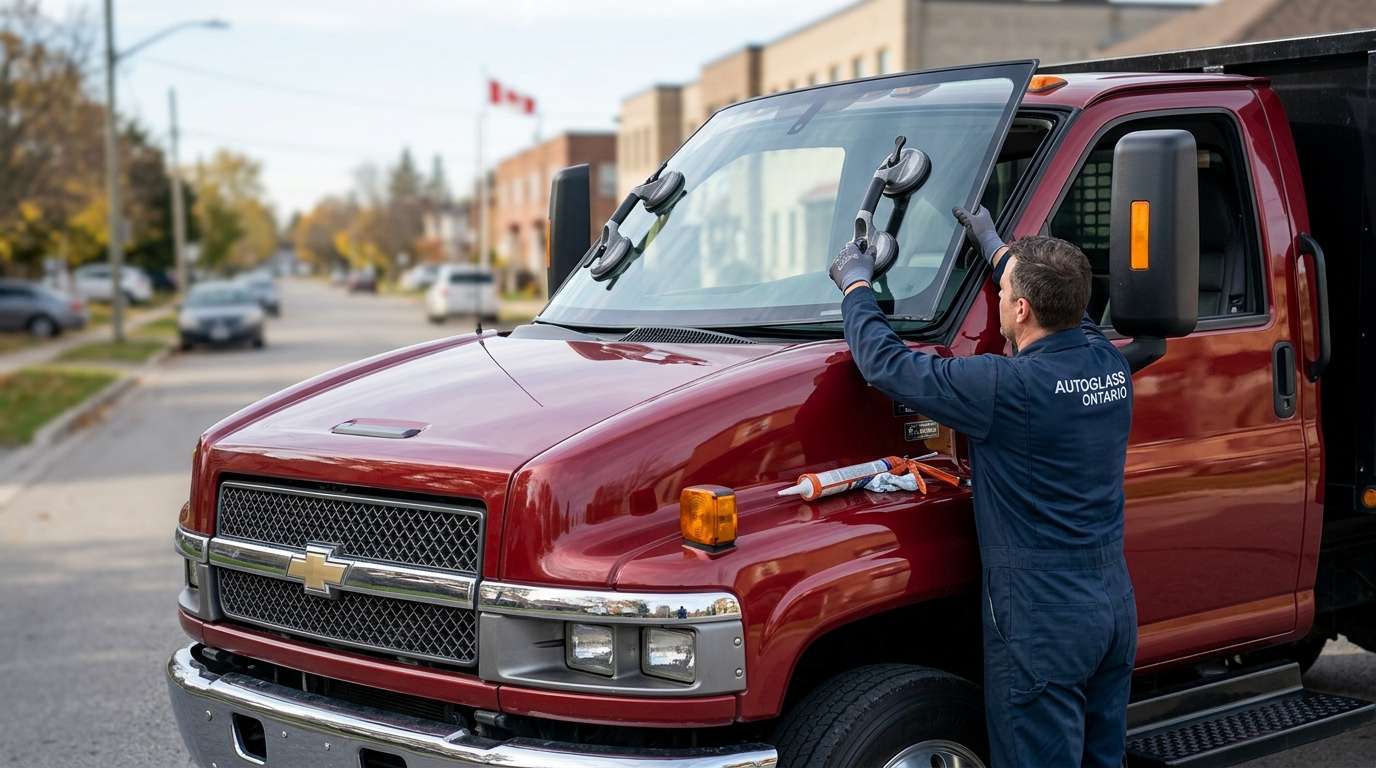
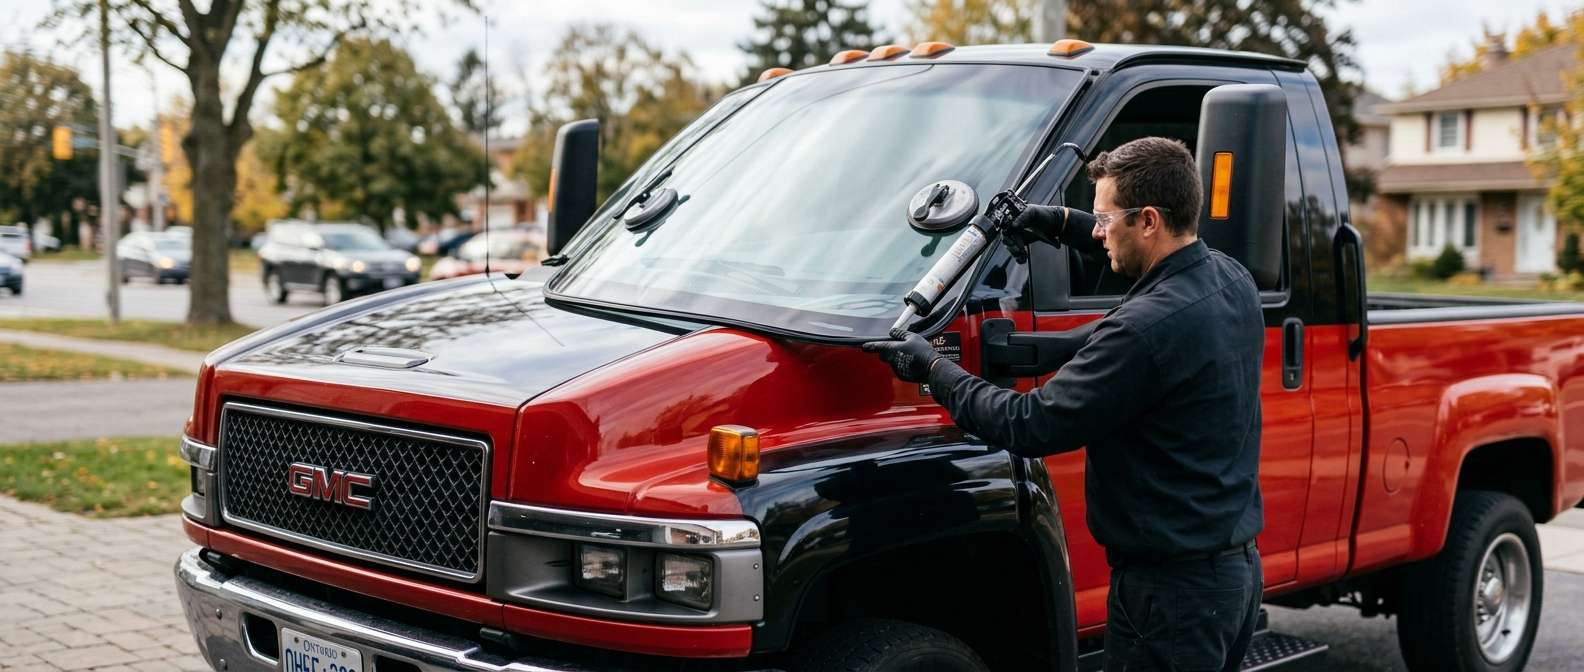
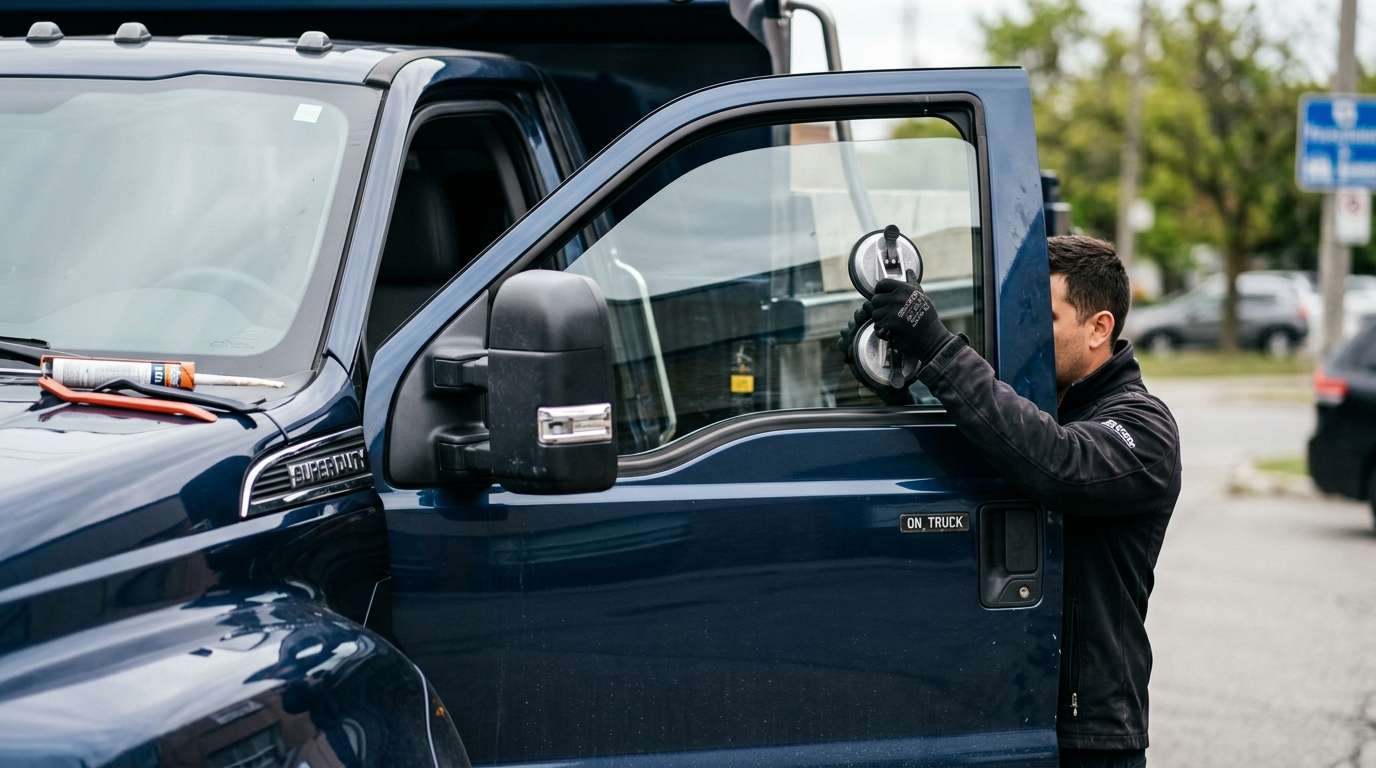
Step 6: Precision Installation Using High-Quality Adhesive
With both the vehicle frame and the new glass prepared, we move to the critical bonding phase. We load a pneumatic caulking gun with an industry-leading, high-quality, fast-curing automotive polyurethane adhesive. Our technician applies a perfectly uniform "V-bead" of urethane directly onto the vehicle's prepared pinch weld. The V-bead ensures there are no air gaps, which are the primary cause of wind noise and water leaks. Carefully, we align the new vent glass and press it firmly into the urethane bed. We apply specialized retention tape to hold the glass exactly in place while the chemical curing process begins.
Step 7: Reassembly, Actuator Reconnection, and Final Quality Check
Once the glass is set, we reverse the disassembly process. We meticulously reconnect any power vent actuators or wiring harnesses, ensuring the mechanical components function flawlessly. The interior door panels and trim pieces are carefully snapped back into their original positions, ensuring all retaining clips are intact and secure. Finally, we clean all the windows in the vehicle, perform a final inspection of the seals, and conduct a water leak test to guarantee absolute perfection. We will then inform you of the exact Safe Drive Away Time (SDAT) to ensure the high-quality adhesive has cured enough for safe driving.
The AlexWindshield Advantage: Unmatched Expertise and a Lifetime Warranty
Your minivan is the workhorse of your family's daily life, and you cannot afford to trust its structural integrity to just anyone. Choosing the right technicians for your vent glass replacement is crucial for the safety, aesthetics, and longevity of your vehicle.
- Unmatched Local Convenience: We eliminate the hassle of traditional repair shops by bringing our top-tier mobile auto glass services directly to you across the GTA, including priority dispatch to Vaughan, Markham, and Richmond Hill.
- Master Technician Precision: Every replacement is performed by highly trained professionals who understand the specific engineering nuances of the 2008-2016 Chrysler Town & Country.
- Premium Materials Only: We exclusively use OEM-equivalent auto glass and the highest grade, fast-curing polyurethane adhesives to ensure your vehicle is returned to strict factory safety standards.
- Immaculate Cleanup: We guarantee that every microscopic shard of tempered glass is vacuumed from your seats, carpets, and door cavities.
At AlexWindshield, we stand firmly behind the quality of our craftsmanship. That is why every single vent glass replacement we perform comes backed by our comprehensive Lifetime Warranty against air leaks, water leaks, and manufacturer defects. When your Chrysler minivan suffers glass damage, do not compromise on your family's safety or comfort. Trust the proven master technicians at AlexWindshield to restore your vehicle to pristine condition, wherever you are in the Greater Toronto Area.