The Commercial Workhorse: Mercedes-Benz Sprinter 2007-2018 Door Glass Replacement
The NCV3 generation of the Mercedes-Benz Sprinter (2007-2018) revolutionized the commercial van segment with its unmatched cargo capacity, versatile high-roofline options, and enduring German engineering. Whether you are navigating the dense downtown streets of Toronto as a delivery courier or cruising the 407 towards a contracting job, your Sprinter is much more than just a vehicle—it is the literal lifeblood of your business operations. When an unexpected break-in, a severe weather event, or an accidental impact shatters your door glass, it instantly compromises not just the aerodynamics and climate control of your cabin, but the highly valuable equipment, tools, and cargo stored securely inside. Operating a commercial vehicle with damaged glass is a severe liability. At AlexWindshield, we understand that fleet downtime translates directly to lost revenue. That is exactly why our Master Technicians specialize in precision door glass replacement specifically engineered for the unique structural and architectural demands of the 2007-2018 Mercedes-Benz Sprinter.
Unmatched Local Auto Glass Expertise Across the GTA
Commercial vehicles require rapid, reliable, and highly specialized service. As the leading authority in automotive glass repair and replacement, AlexWindshield proudly serves the entire Greater Toronto Area (GTA). We have deployed our state-of-the-art mobile service units specifically to cater to commercial hubs, ensuring rapid response times in Vaughan, Richmond Hill, and Markham. You do not need to disrupt your entire logistical schedule to bring your damaged Sprinter van into a traditional repair shop. Our mobile technicians arrive directly at your job site, fleet yard, or driveway fully equipped with OEM-quality glass and premium bonding materials to get your Mercedes-Benz Sprinter back on the road safely and efficiently.
Comprehensive Step-by-Step Door Glass Replacement Process
Replacing the door glass on a Mercedes-Benz Sprinter 2007-2018—whether it is the operational cabin door glass or the bonded fixed glass on the side and rear cargo doors—requires a meticulous, uncompromising approach. Commercial vans are subjected to intense daily vibrations, harsh weather conditions, and heavy door slamming. Therefore, the structural integrity of the newly installed glass must be flawless. Below is our Master Technician’s detailed, A-to-Z process for replacing your Sprinter's door glass.
Step 1: Vehicle Preparation and Interior Protection
The replacement process begins before any tools are even lifted. Our first priority is protecting the interior of your Mercedes-Benz Sprinter. Shattered tempered glass creates thousands of microscopic, razor-sharp fragments that can easily embed themselves into your upholstery, dashboard, and cargo area. We meticulously prepare the vehicle by taking the following steps:
- Deploying heavy-duty protective drop cloths over the front seats, dashboard, and center console.
- Applying specialized automotive masking tape around the exterior door frame to protect your Sprinter’s paint job from accidental scratching during the extraction process.
- Securing the surrounding cargo area, especially if replacing the rear or sliding side door glass, to ensure no debris contaminates your work equipment.
Step 2: Door Panel Removal and Component Disconnection
To access the internal mechanisms of the door and safely extract all hidden debris, the interior door panel must be carefully dismantled. The 2007-2018 Sprinter utilizes a specific arrangement of Torx screws and high-tension plastic retaining clips. Our technicians use specialized trim-removal tools to prevent any damage to the plastic fascia. The process includes:
- Extracting the hidden Torx screws located behind the door handle bezel and the lower storage pockets.
- Carefully prying the interior door panel away from the steel door frame without breaking the fragile OEM retaining clips.
- Disconnecting the electrical wiring harnesses for the power windows, lock switches, and side-mirror controls.
- Peeling back the interior vapor barrier with extreme care to ensure it can be perfectly resealed later, preventing future water leaks into the cabin.
Step 3: Shard Extraction and Comprehensive Vacuuming
When door glass shatters, the majority of the broken glass shards fall directly into the lower cavity of the door shell. If left inside, these fragments will cause a persistent, maddening rattling sound every time the vehicle accelerates, brakes, or shuts its doors. More importantly, loose glass can severely damage the window regulator cables and internal drainage ports. Our protocol demands vacuuming all broken glass shards from the vehicle's interior and internal compartments:
- Using high-powered, industrial-grade shop vacuums equipped with narrow crevice tools to reach the deepest corners of the Sprinter’s internal door cavity.
- Thoroughly vacuuming the window regulator tracks, ensuring the newly installed glass will glide up and down without any grinding or resistance.
- Extracting every visible and hidden glass fragment from the seats, floor mats, and exterior weather stripping.
Step 4: Removal of the Old Glass Frame and Surface Cleaning
For bonded door glass applications—such as the fixed vent windows or the rear cargo door glass on the Sprinter—the remaining perimeter of the shattered glass must be surgically removed. The factory polyurethane adhesive is incredibly tough. We utilize advanced cold-knife systems and specialized oscillating wire tools to cut through the old urethane bead without scratching the vehicle's pinch weld. Once the old frame is removed, rigorous surface cleaning is mandatory. We use industry-grade, alcohol-based glass cleaners and specialized degreasers to remove dirt, moisture, and old chemical residues from the mounting surface. A perfectly clean pinch weld is the absolute foundation for a secure, watertight bond.
Step 5: Primer Application and Urethane Adhesive Preparation
Modern commercial vehicle safety standards rely heavily on the chemical bonding of auto glass. The installation of fixed door glass on your Sprinter is not simply bolted in; it requires an advanced chemical system to ensure the glass contributes to the structural rigidity of the van. After surface cleaning, we proceed with the primer application and adhesive prep:
- Pinch Weld Primer: We apply a specialized, anti-corrosive primer to any exposed bare metal on the Sprinter’s door frame. This prevents future rust formation, which is critical in the harsh, salt-heavy winters of the Greater Toronto Area (GTA).
- Glass Primer: A specialized black frit primer is applied to the perimeter of the new OEM-quality glass. This chemical acts as a bonding agent, allowing the urethane to grip the smooth glass surface at a molecular level.
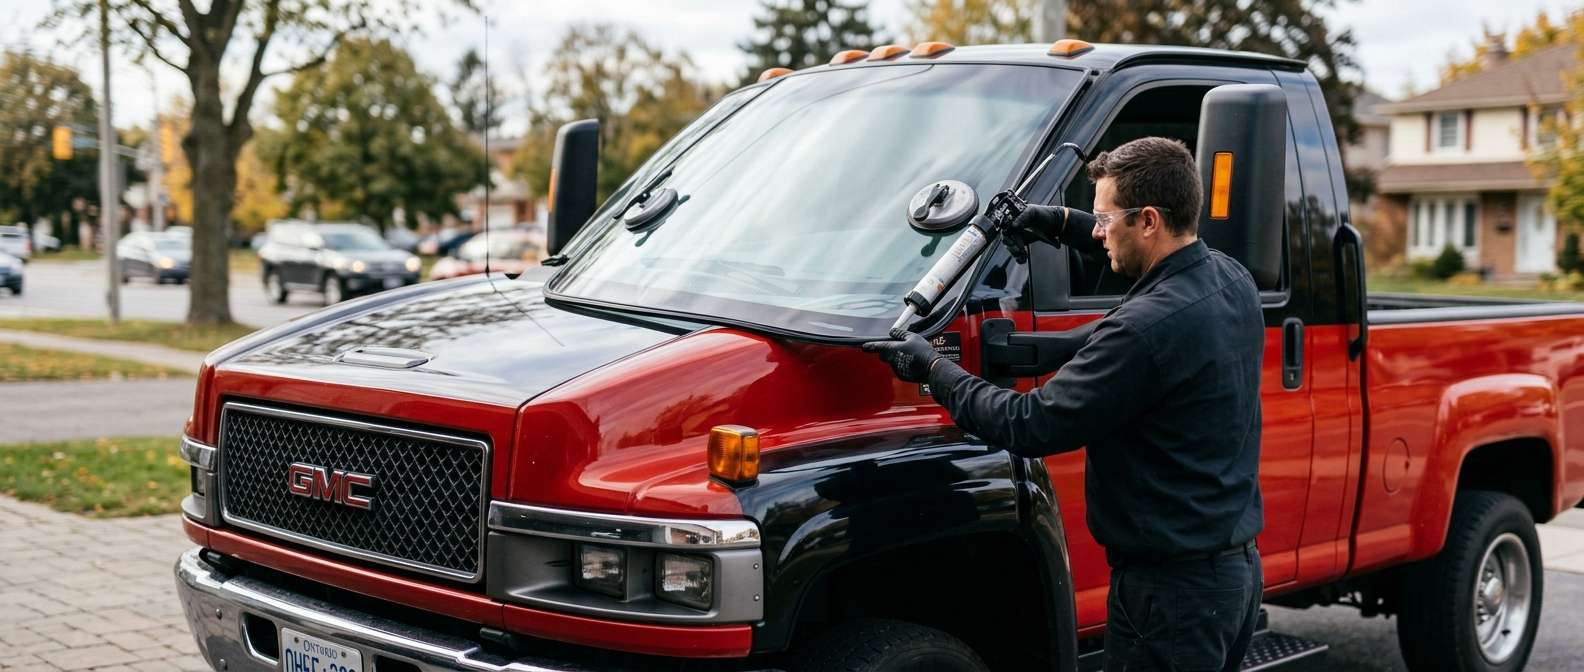
- Adhesive Application: We execute the installation of the new glass using high-quality adhesive. Our technicians load premium, fast-curing polyurethane adhesive into a high-powered electric caulking gun. A perfectly uniform, continuous V-bead of urethane is applied to the perimeter of the door frame, ensuring a flawless, airtight, and watertight seal.
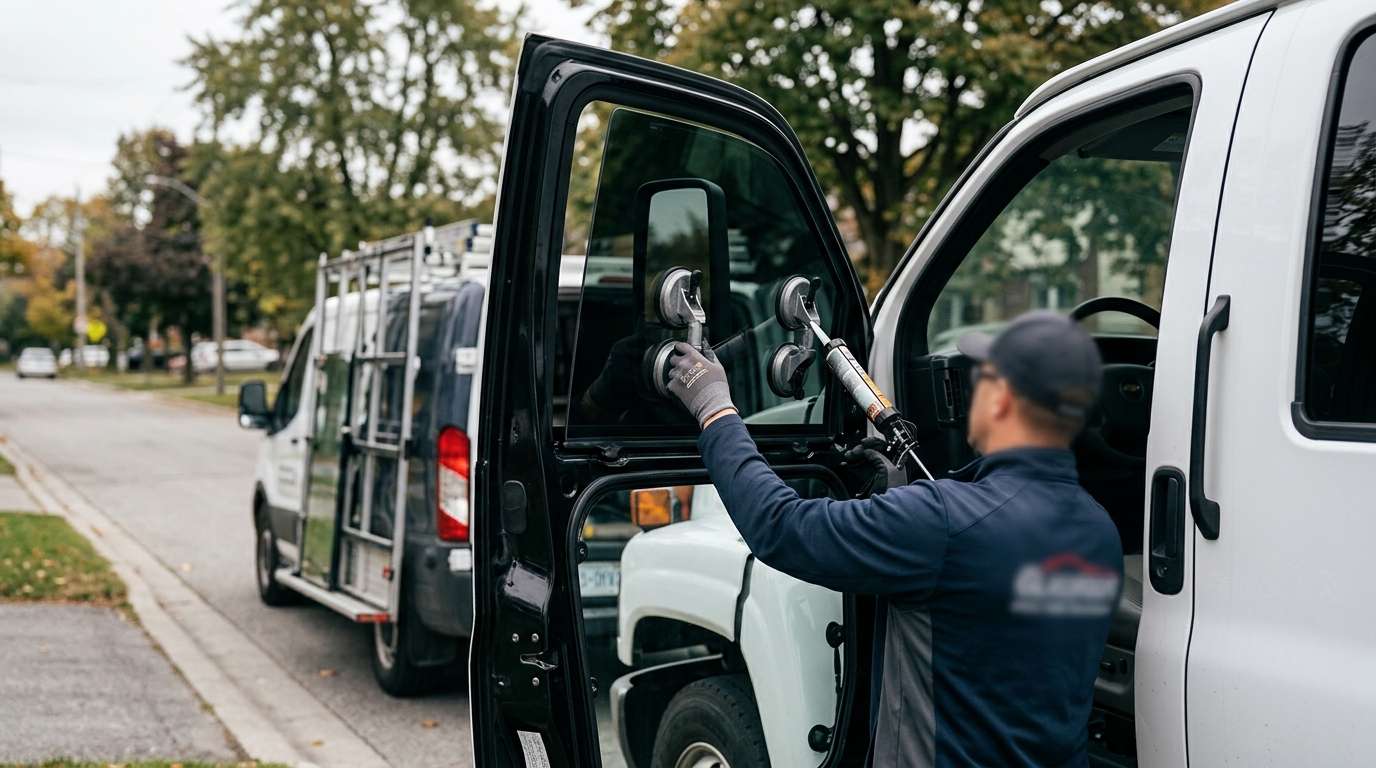
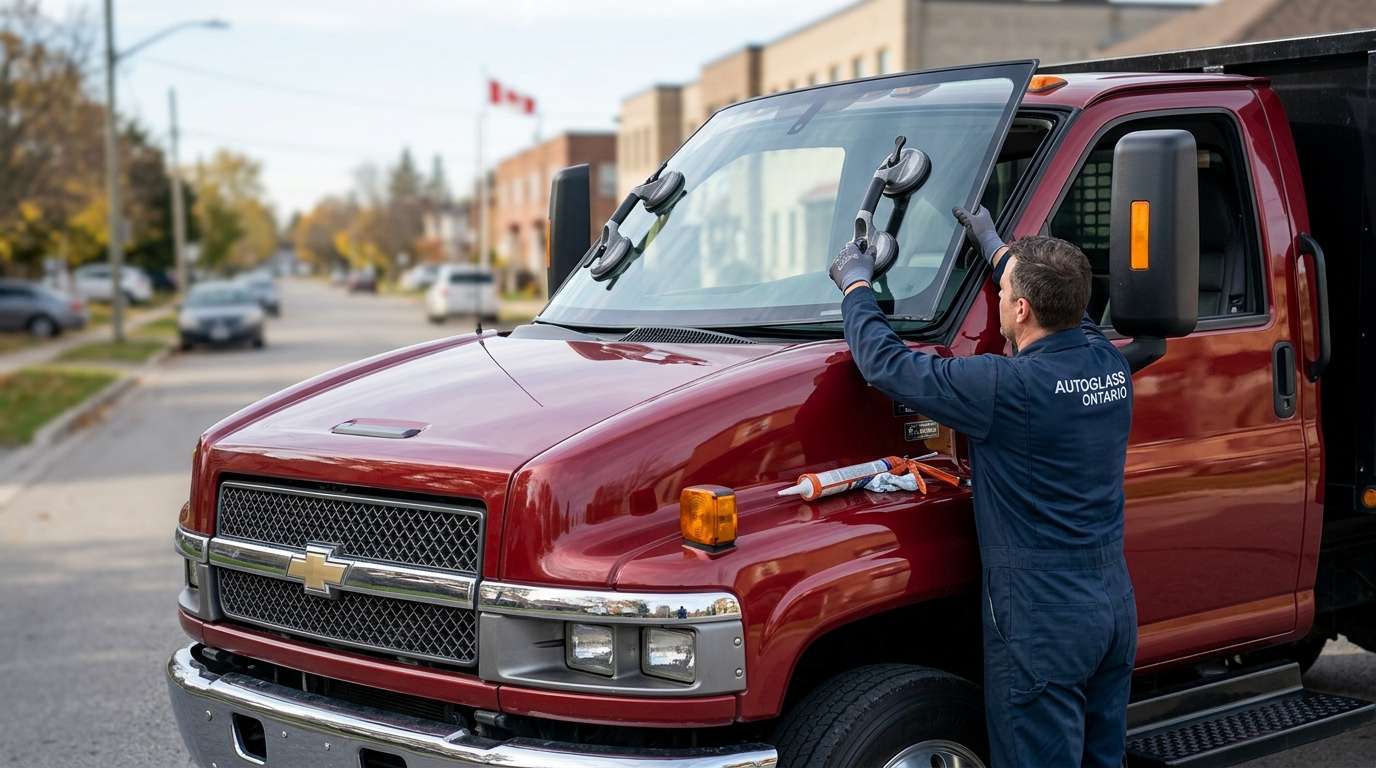
Step 6: Installation of the New Mercedes-Benz Sprinter Door Glass
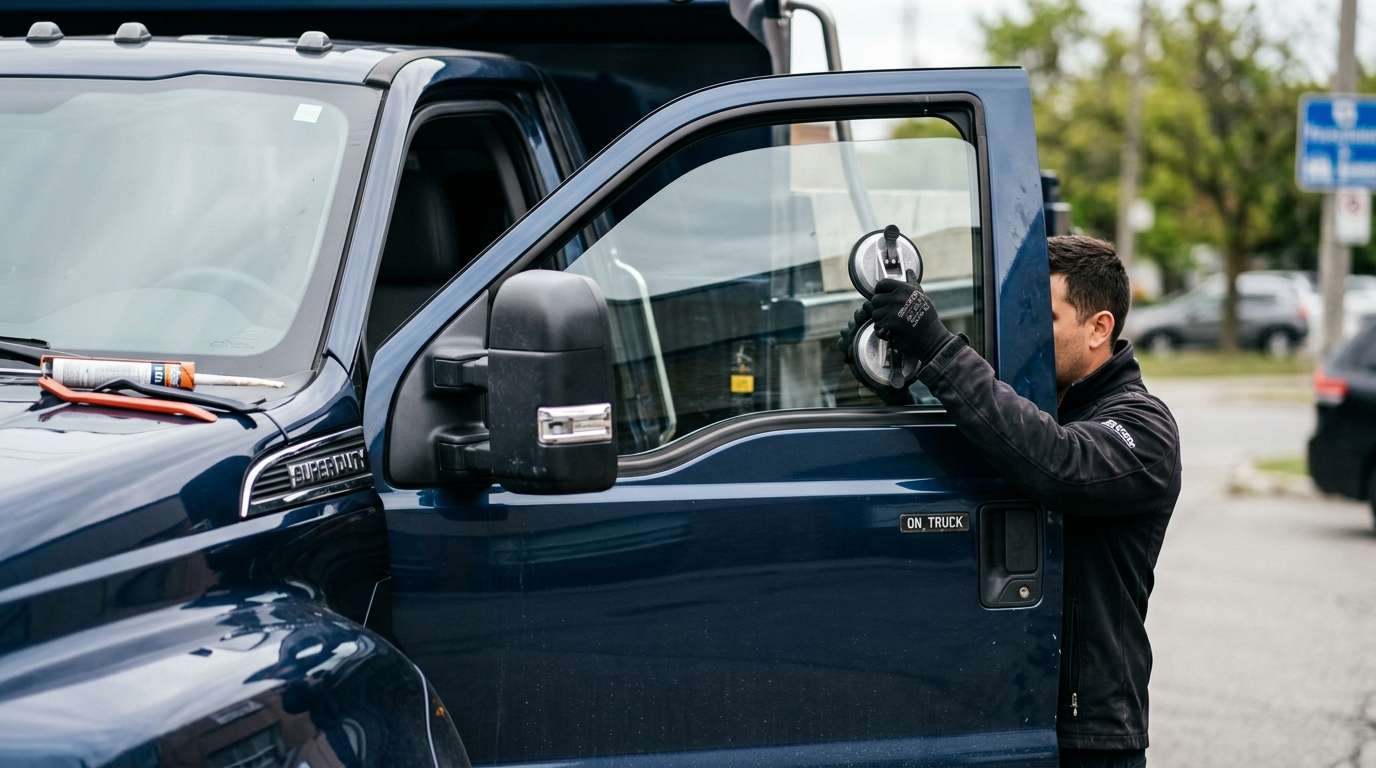
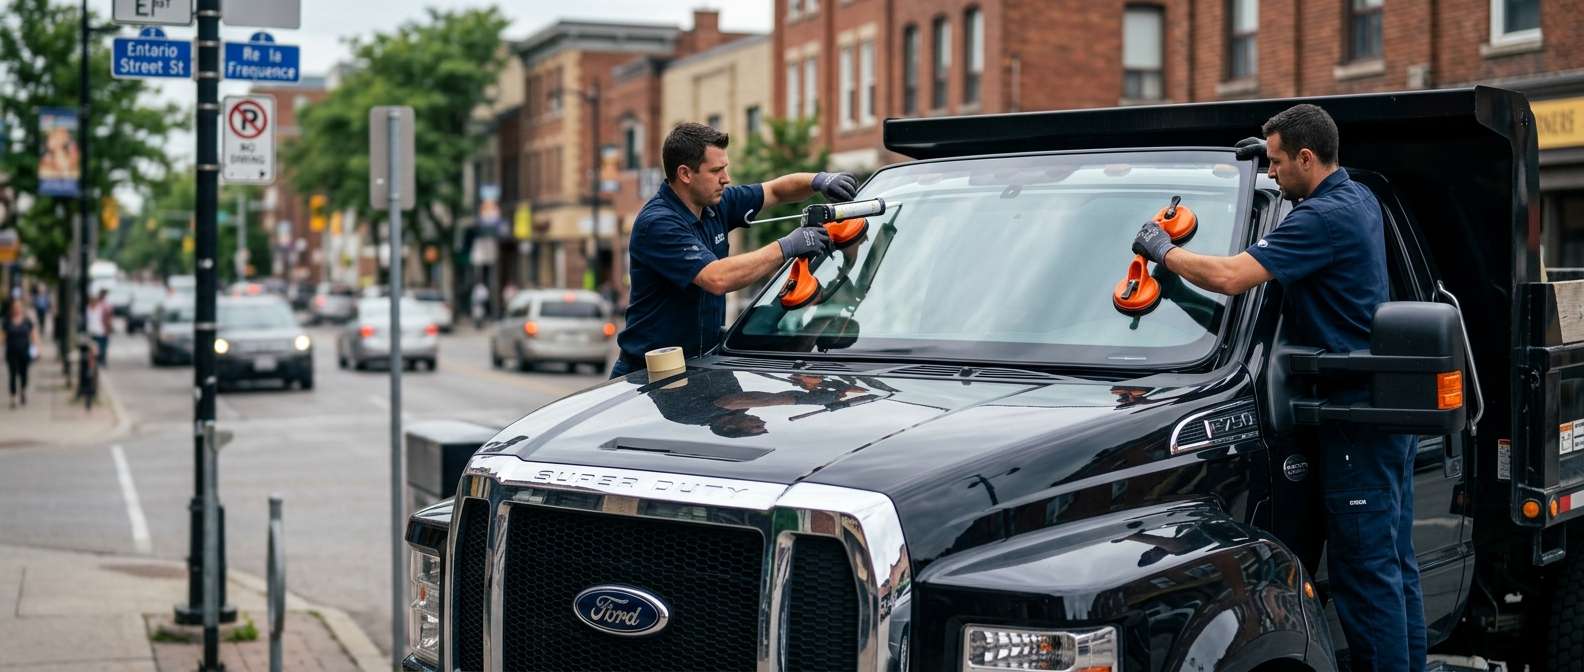
With the primer cured and the high-quality adhesive applied, the new glass is ready to be set. For a vehicle as large as the Mercedes-Benz Sprinter, handling the glass requires precision, strength, and specialized suction-cup lifting tools. The new door glass is carefully aligned with the factory mounting points. Once positioned, the technician applies firm, even pressure around the perimeter to compress the urethane bead to the exact factory depth. If we are replacing the operational front cabin door glass, the new pane is carefully lowered into the door cavity, seated perfectly into the window regulator track clamps, and bolted down to the manufacturer's exact torque specifications.
Step 7: Reassembly and Quality Assurance Testing
Once the door glass replacement is physically complete, the vehicle must be reassembled and rigorously tested. The vapor barrier is meticulously resealed using automotive butyl tape to prevent moisture intrusion. The interior door panel is carefully realigned and snapped back into place, ensuring every retaining clip engages securely. All electrical components—including window switches and door locks—are reconnected and tested for flawless functionality. We roll the window up and down multiple times to guarantee smooth, silent operation. Finally, the newly installed glass is polished to a streak-free shine, and the exterior is inspected to ensure the adhesive is curing properly. Our technicians will inform you of the Safe Drive-Away Time (SDAT), ensuring the urethane has cured sufficiently to handle the rigors of commercial driving.
Trust AlexWindshield with Your Commercial Fleet
Your Mercedes-Benz Sprinter is the backbone of your daily operations. You cannot afford to entrust its maintenance to inexperienced technicians using sub-par materials. At AlexWindshield, we pride ourselves on delivering uncompromising quality, rapid dispatch times, and exceptional customer service. Whether you are managing a single delivery van in Markham, a fleet of contractor vehicles in Vaughan, or operating a mobile workshop out of Richmond Hill, our mobile auto glass replacement service is designed to keep your business moving.
We stand behind our craftsmanship and the materials we use. Every single glass replacement performed by AlexWindshield comes backed by our comprehensive Lifetime Warranty, covering any manufacturer defects, air leaks, or water leaks for as long as you own the vehicle. Do not let shattered door glass compromise your cargo, your safety, or your professional image. Contact AlexWindshield today—the most trusted, dedicated mobile auto glass experts in the Greater Toronto Area (GTA)—and experience the ultimate standard in commercial auto glass replacement.