Restoring the Crown Jewel of Your Van: Mercedes-Benz Sprinter 2007-2018 Sunroof Replacement
The Mercedes-Benz Sprinter 2007-2018 is far more than just a commercial vehicle; it is the ultimate blank canvas. Whether your Sprinter is engineered as an executive passenger shuttle, a rugged camper conversion, or a heavy-duty fleet workhorse, it operates as a mobile hub of productivity and adventure. The sunroof on these specific models provides critical natural light, ventilation, and a sense of spaciousness inside a cavernous cabin. However, because of the vehicle's towering roofline and aerodynamic profile, the sunroof is constantly exposed to devastating elements—from low-hanging branches and rogue highway debris to extreme thermal stress. When the glass shatters or the seals fail, you aren't just facing an aesthetic issue; you are risking catastrophic water damage to custom interiors, expensive cargo, and intricate electrical wiring.
As a Master Technician at AlexWindshield, I have witnessed firsthand the havoc a compromised sunroof can wreak on a Sprinter van. Replacing the overhead glass on this specific commercial chassis requires a highly specialized approach. You cannot rely on a generic auto glass fix. It demands rigorous safety protocols, specialized scaffolding to safely access the high roof, and an uncompromising mastery of automotive adhesives. Below, I will walk you through our definitive, A to Z technical process for performing a flawless Mercedes-Benz Sprinter sunroof replacement.
Why Immediate Sunroof Replacement is Critical for Your Sprinter Van
Driving a massive vehicle like the 2007-2018 Mercedes-Benz Sprinter with a damaged overhead glass panel is a significant liability. Minor stress cracks can spiderweb rapidly due to chassis flex when navigating tight urban corners or uneven terrain. Here is why immediate professional intervention is strictly required:
- Structural Integrity: The factory roof of the Sprinter relies on every fitted component to maintain rigidity. A shattered or improperly seated sunroof compromises the van's structural equilibrium.
- Water Ingress and Mold: A failing sunroof seal or cracked glass allows moisture directly into the headliner. In passenger models or custom RV upfits, this leads to toxic mold growth and destroys expensive custom upholstery.
- Electrical Hazards: Water leaking from the sunroof assembly can travel down the A-pillars and B-pillars, short-circuiting critical dashboard modules, interior lighting, and the sunroof motor itself.
- Shatter Hazards: Unlike laminated windshields, many sunroofs utilize tempered glass. When impacted, they explode into thousands of sharp granules, raining dangerous debris onto passengers and cargo.
The Master Technician's A to Z Sunroof Replacement Protocol
At AlexWindshield, our sunroof replacement methodology goes far beyond simply dropping in a new piece of glass. We execute a meticulous, step-by-step restoration to ensure your 2007-2018 Sprinter remains watertight and structurally sound for the remainder of its lifespan. Here is exactly how we do it.
Step 1: Specialized Preparation and Interior Protection
Because the Sprinter has an exceptionally high roof clearance, our first step is establishing a safe external workspace using OSHA-approved rolling ladders or scaffolding. Once external access is secure, we move inside. A shattered sunroof means glass shards and black urethane dust can easily contaminate the cabin. We completely drape the front driver and passenger captain's chairs, the dashboard, and the steering column with heavy-duty protective covers. For cargo or camper models, we deploy thick drop cloths across the floorboards to ensure the interior remains pristine during the heavy extraction work.
Step 2: Meticulous Broken Glass Extraction and Vacuuming
If the sunroof has exploded—which is common with tempered auto glass—our priority is total decontamination. We do not just sweep up the obvious pieces. We utilize high-powered, industrial shop vacuums fitted with micro-crevice tools to extract every single shard of glass from the intricate mechanical tracks, the headliner fabric, and the vehicle's floor. Crucially, we blow compressed air through the Sprinter's primary sunroof drain tubes. If even a microscopic glass shard or piece of environmental debris clogs these drainage channels, water will back up and flood your cabin during the next heavy rainstorm. Total extraction is non-negotiable.
Step 3: Hardware Disassembly and Old Glass Removal
With the area safe and clean, we begin the extraction of the compromised unit. For the 2007-2018 Sprinter, this often involves carefully unclipping the interior trim bezels and accessing the mechanical Torx bolts that secure the glass frame to the track assembly. If we are replacing a bonded panoramic stationary panel, we utilize an advanced cold-knife or a specialized wire-cutting extraction tool to slice through the original factory polyurethane adhesive bead. We execute this cut with millimeter precision to ensure the metal pinch weld of the roof is not scratched or scored, which would invite rapid oxidation and future rust.
Step 4: Track Cleaning, Surface Preparation, and Primer Application
This is where the true craftsmanship of a Master Technician shines. We meticulously clean the bare roof opening, utilizing specialized automotive degreasers to remove any residual dirt, sap, or silicone residue. Using razor scrapers, we trim the old adhesive down to a perfectly level 1-2 millimeter base layer, which acts as an optimal bonding foundation.
Next comes the most critical chemical step: the primer application. We apply a high-tech, fast-curing automotive glass primer to both the newly trimmed urethane track on the van's roof and the black ceramic frit band of the new OEM-quality replacement sunroof. This primer serves a dual purpose: it acts as a molecular bridge that fuses the glass to the adhesive, and it provides an impenetrable rust-inhibiting barrier over any microscopic scratches on the van's metal pinch weld.
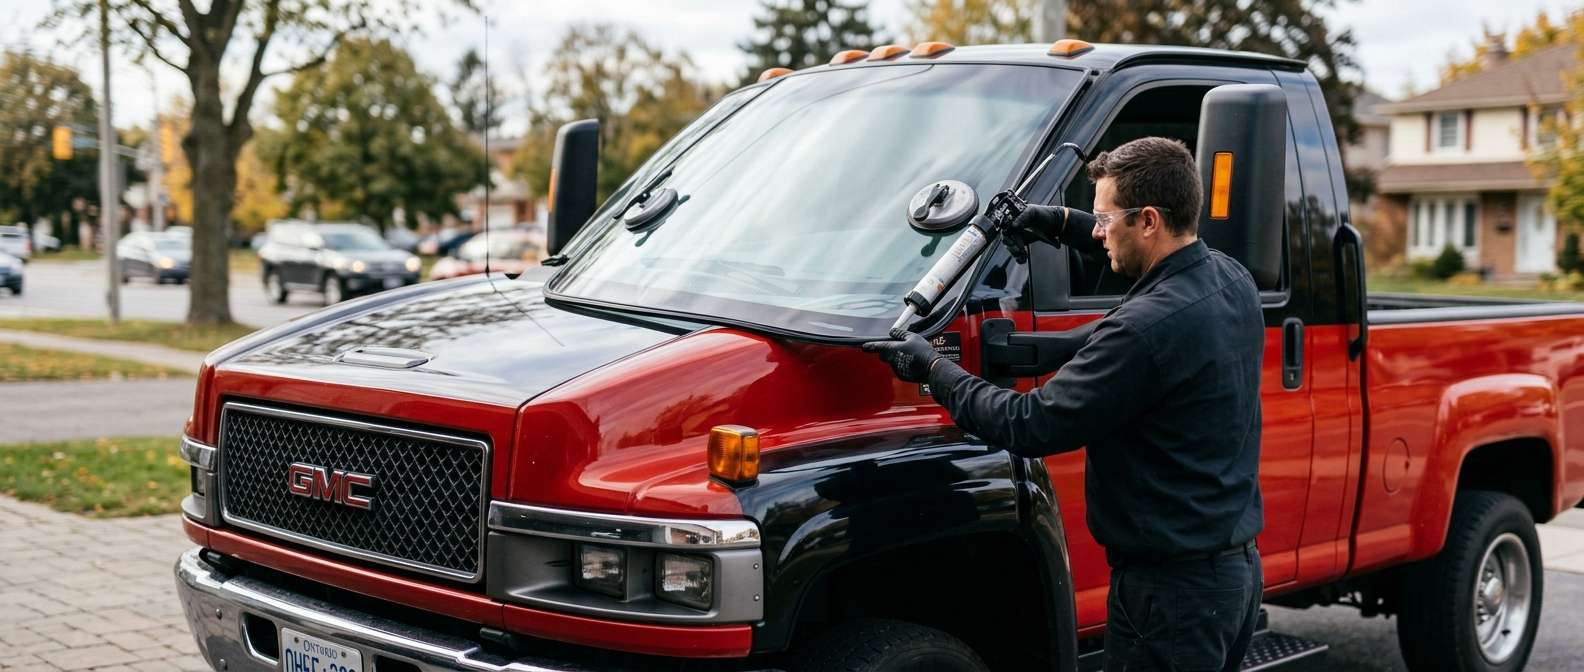
Step 5: Application of High-Quality Urethane Adhesive
Once the primer has flashed (cured to a matte finish), we load our electric caulking gun with an industry-leading, advanced-cure polyurethane adhesive. We extrude a perfectly uniform, continuous "V-bead" of this high-quality adhesive around the entire perimeter of the roof channel. The V-shape is a highly specific structural requirement; as the new glass is pressed downward, the peak of the adhesive bead collapses evenly, eliminating any potential air pockets or capillary pathways where water could eventually seep through.
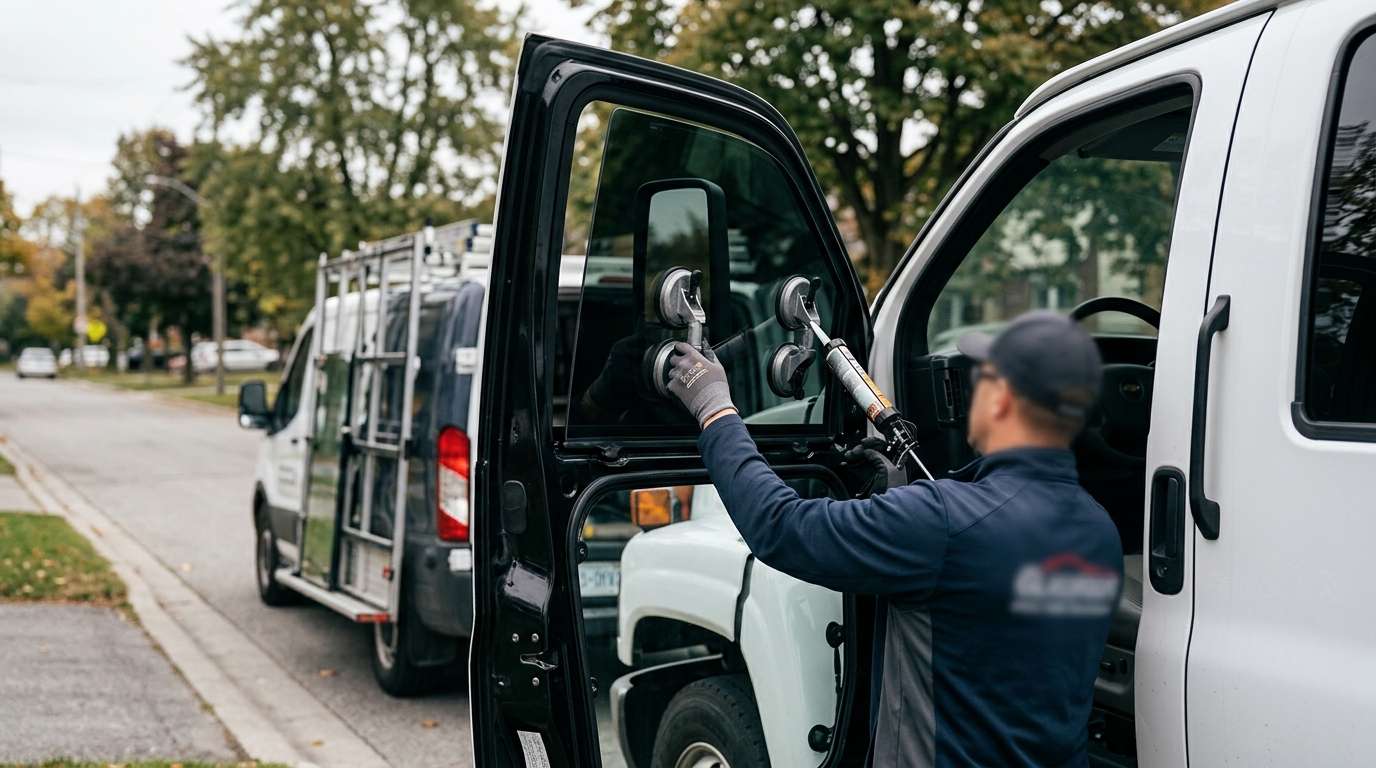
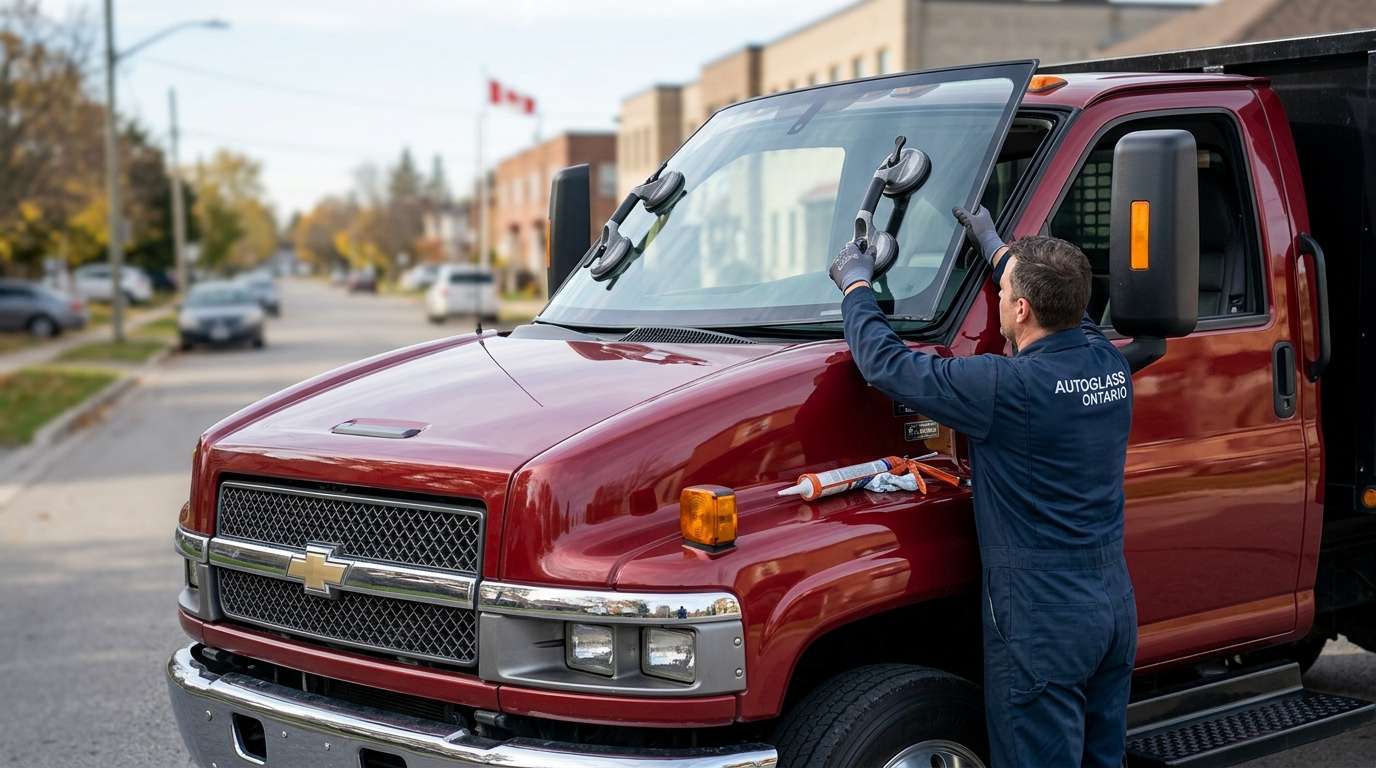
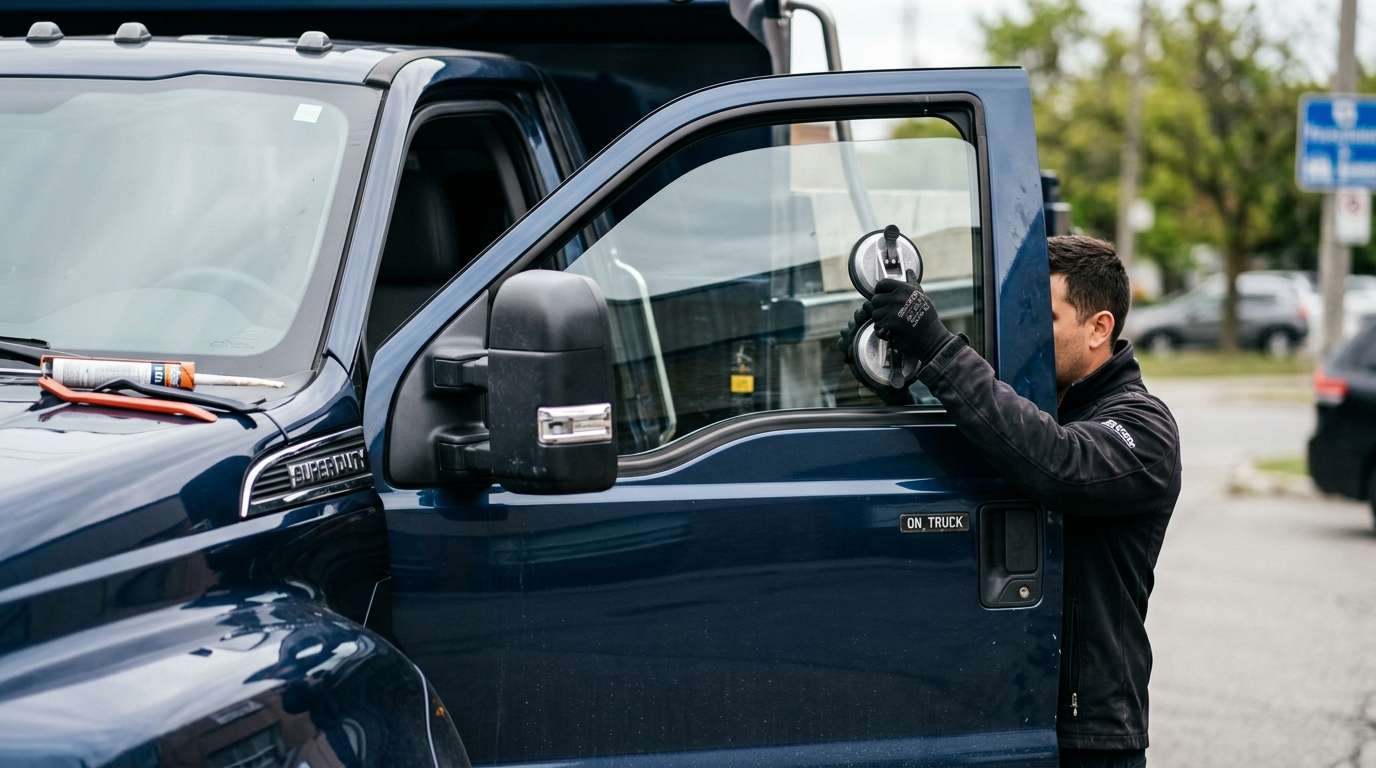
Step 6: Precision Glass Installation and Track Alignment
Lifting a heavy glass panel up to the roof of a Mercedes-Benz Sprinter is a two-person job requiring specialized heavy-duty suction cup lifters. We hoist the premium replacement glass over the roofline and gently lower it into the wet adhesive bead with absolute, dead-center precision. Once the glass makes contact, we apply firm, even pressure along the edges to set it to the exact factory depth. If the sunroof is a movable, mechanical unit, we carefully re-torque all the mounting hardware to the manufacturer's precise specifications, lubricate the tracks with pure white lithium grease, and manually synchronize the motor so the glass opens, closes, and vents flawlessly.
Step 7: The Curing Process, Water Testing, and Final Cleanup
The polyurethane adhesive requires a strict safe-drive-away time to cure and form a watertight molecular bond. While the chemical cross-linking occurs, we move on to our rigorous quality assurance phase. We conduct an aggressive water leak test, simulating torrential downpours directly over the newly installed sunroof to verify that the seals are perfectly tight and the drain tubes are functioning flawlessly. Finally, we meticulously polish the interior and exterior of the new sunroof with a streak-free, ammonia-free glass cleaner, remove all our interior protective draping, and perform one last vacuuming of the cabin.
Elite Mobile Auto Glass Service Across the Greater Toronto Area (GTA)
We understand that a Mercedes-Benz Sprinter is rarely just sitting in a driveway. Whether you are managing a fleet of delivery vans or you use your Sprinter for an operational contracting business, downtime equals lost revenue. Taking a large, high-roof commercial van into a traditional repair shop is often a logistical nightmare.
That is why AlexWindshield brings the auto glass repair facility directly to you. Our fully equipped mobile fleet is designed to perform heavy-duty replacements on commercial vehicles right at your location. We proudly provide seamless, rapid-response mobile service across the Greater Toronto Area (GTA). Whether your van is parked at a construction site in Vaughan, an office park in Richmond Hill, or a residential driveway in Markham, our Master Technicians arrive with the scaffolding, the premium glass, and the specialized adhesives required to execute a perfect installation on-site.
Choose AlexWindshield: Your Trusted GTA Auto Glass Experts
Do not leave the structural integrity and weatherproofing of your commercial or luxury van in the hands of amateurs. A botched sunroof replacement on a high-clearance vehicle will inevitably lead to devastating leaks, electrical failures, and costly rust repairs down the line.
When you choose AlexWindshield, you are partnering with elite technicians who understand the specific architectural nuances of the Mercedes-Benz Sprinter 2007-2018. We use only premium quality glass, advanced OEM-grade urethane adhesives, and uncompromising preparation techniques. We are so confident in our precision methodology that we back our installations with an industry-leading Lifetime Warranty against leaks, whistling, and workmanship defects.
If you are operating in the Greater Toronto Area (GTA)—including Vaughan, Richmond Hill, and Markham—and need immediate, professional mobile auto glass solutions, contact AlexWindshield today. Experience the ultimate standard in commercial vehicle glass replacement and get your Sprinter back on the road safely, securely, and completely watertight.